

HOW TO ACHIEVE
THE BEST FAKE TAN EVER
HOW TO ACHIEVE
THE BEST
FAKE TAN EVER
Applying fake tan is not as simple as just “slapping it on”. It will never, ever pass as a real tan if elbows, knees and heels appear three shades darker than the rest of your body. Patchy wrists, feet and hands can also give the game away big time.
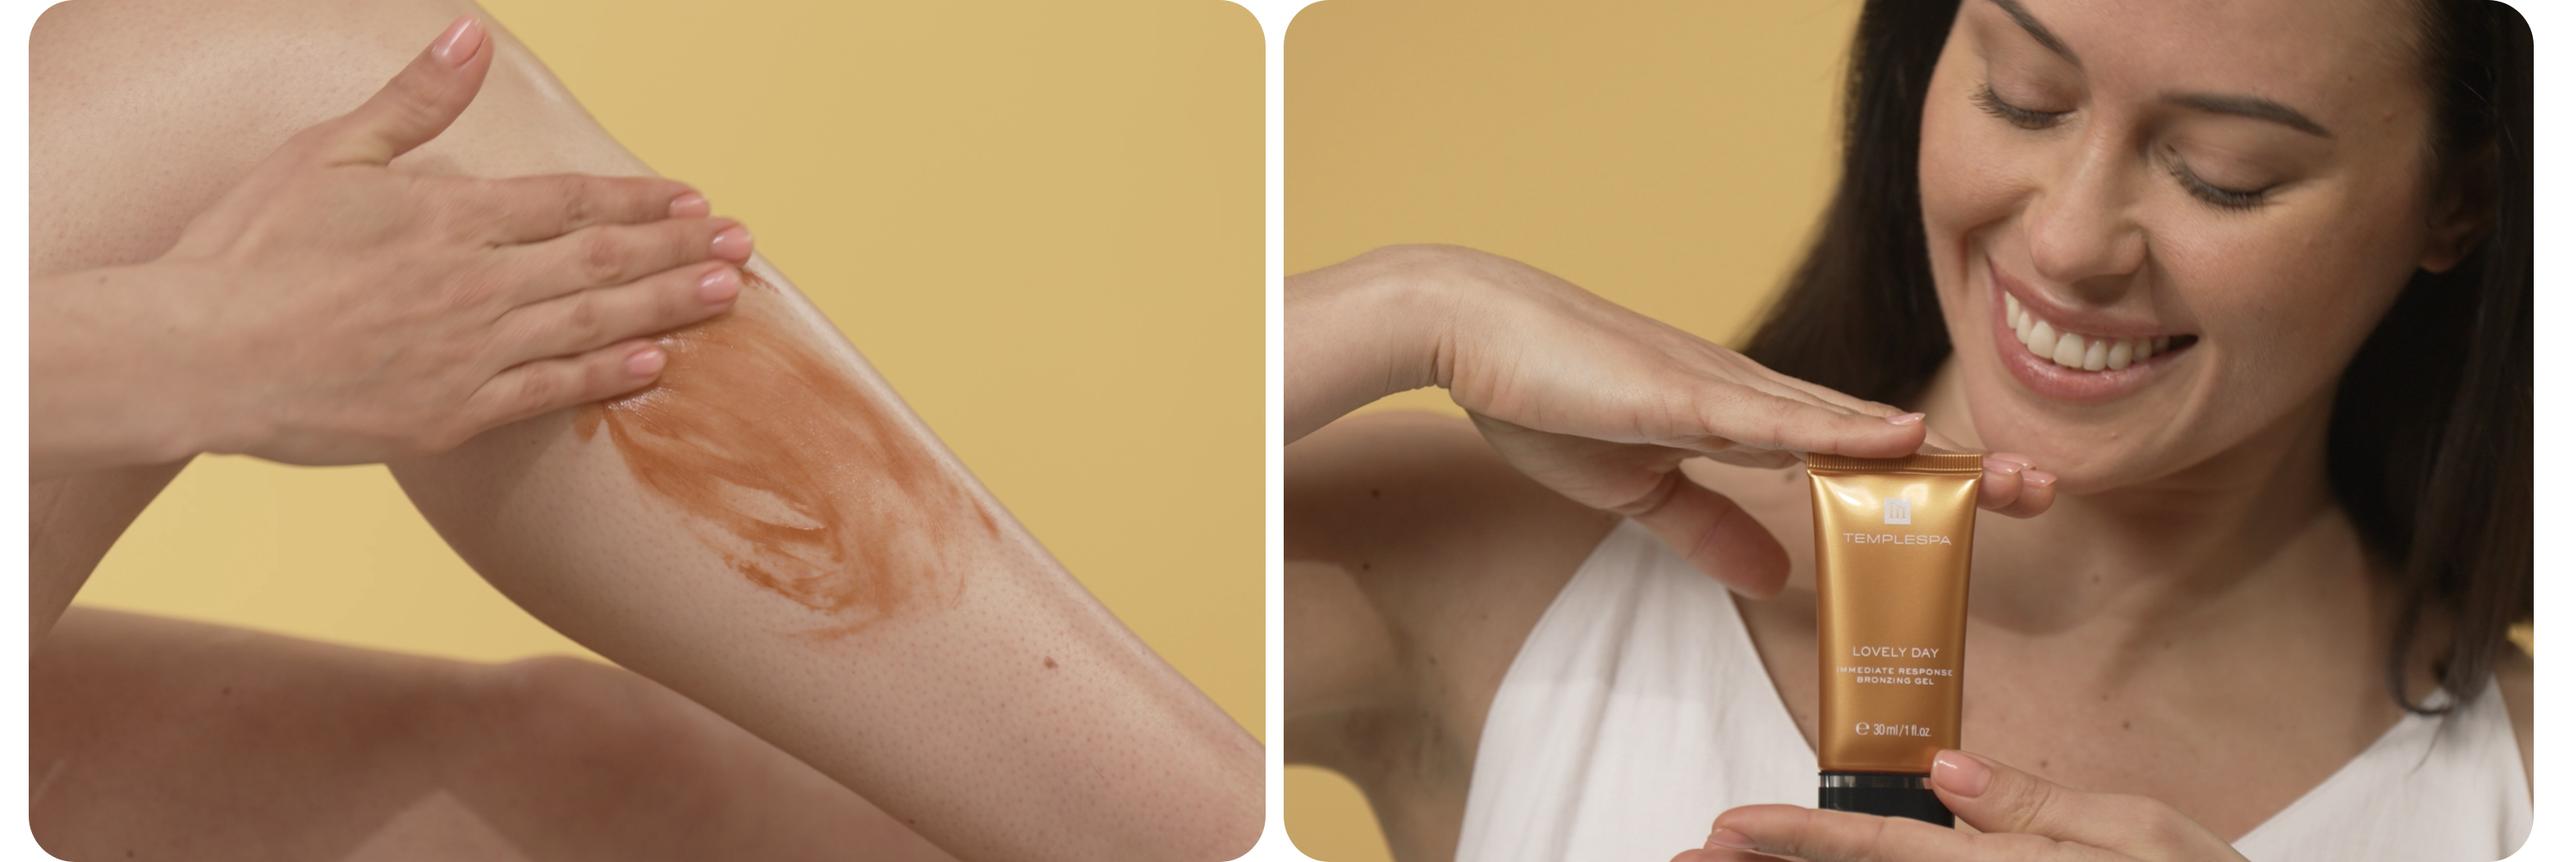
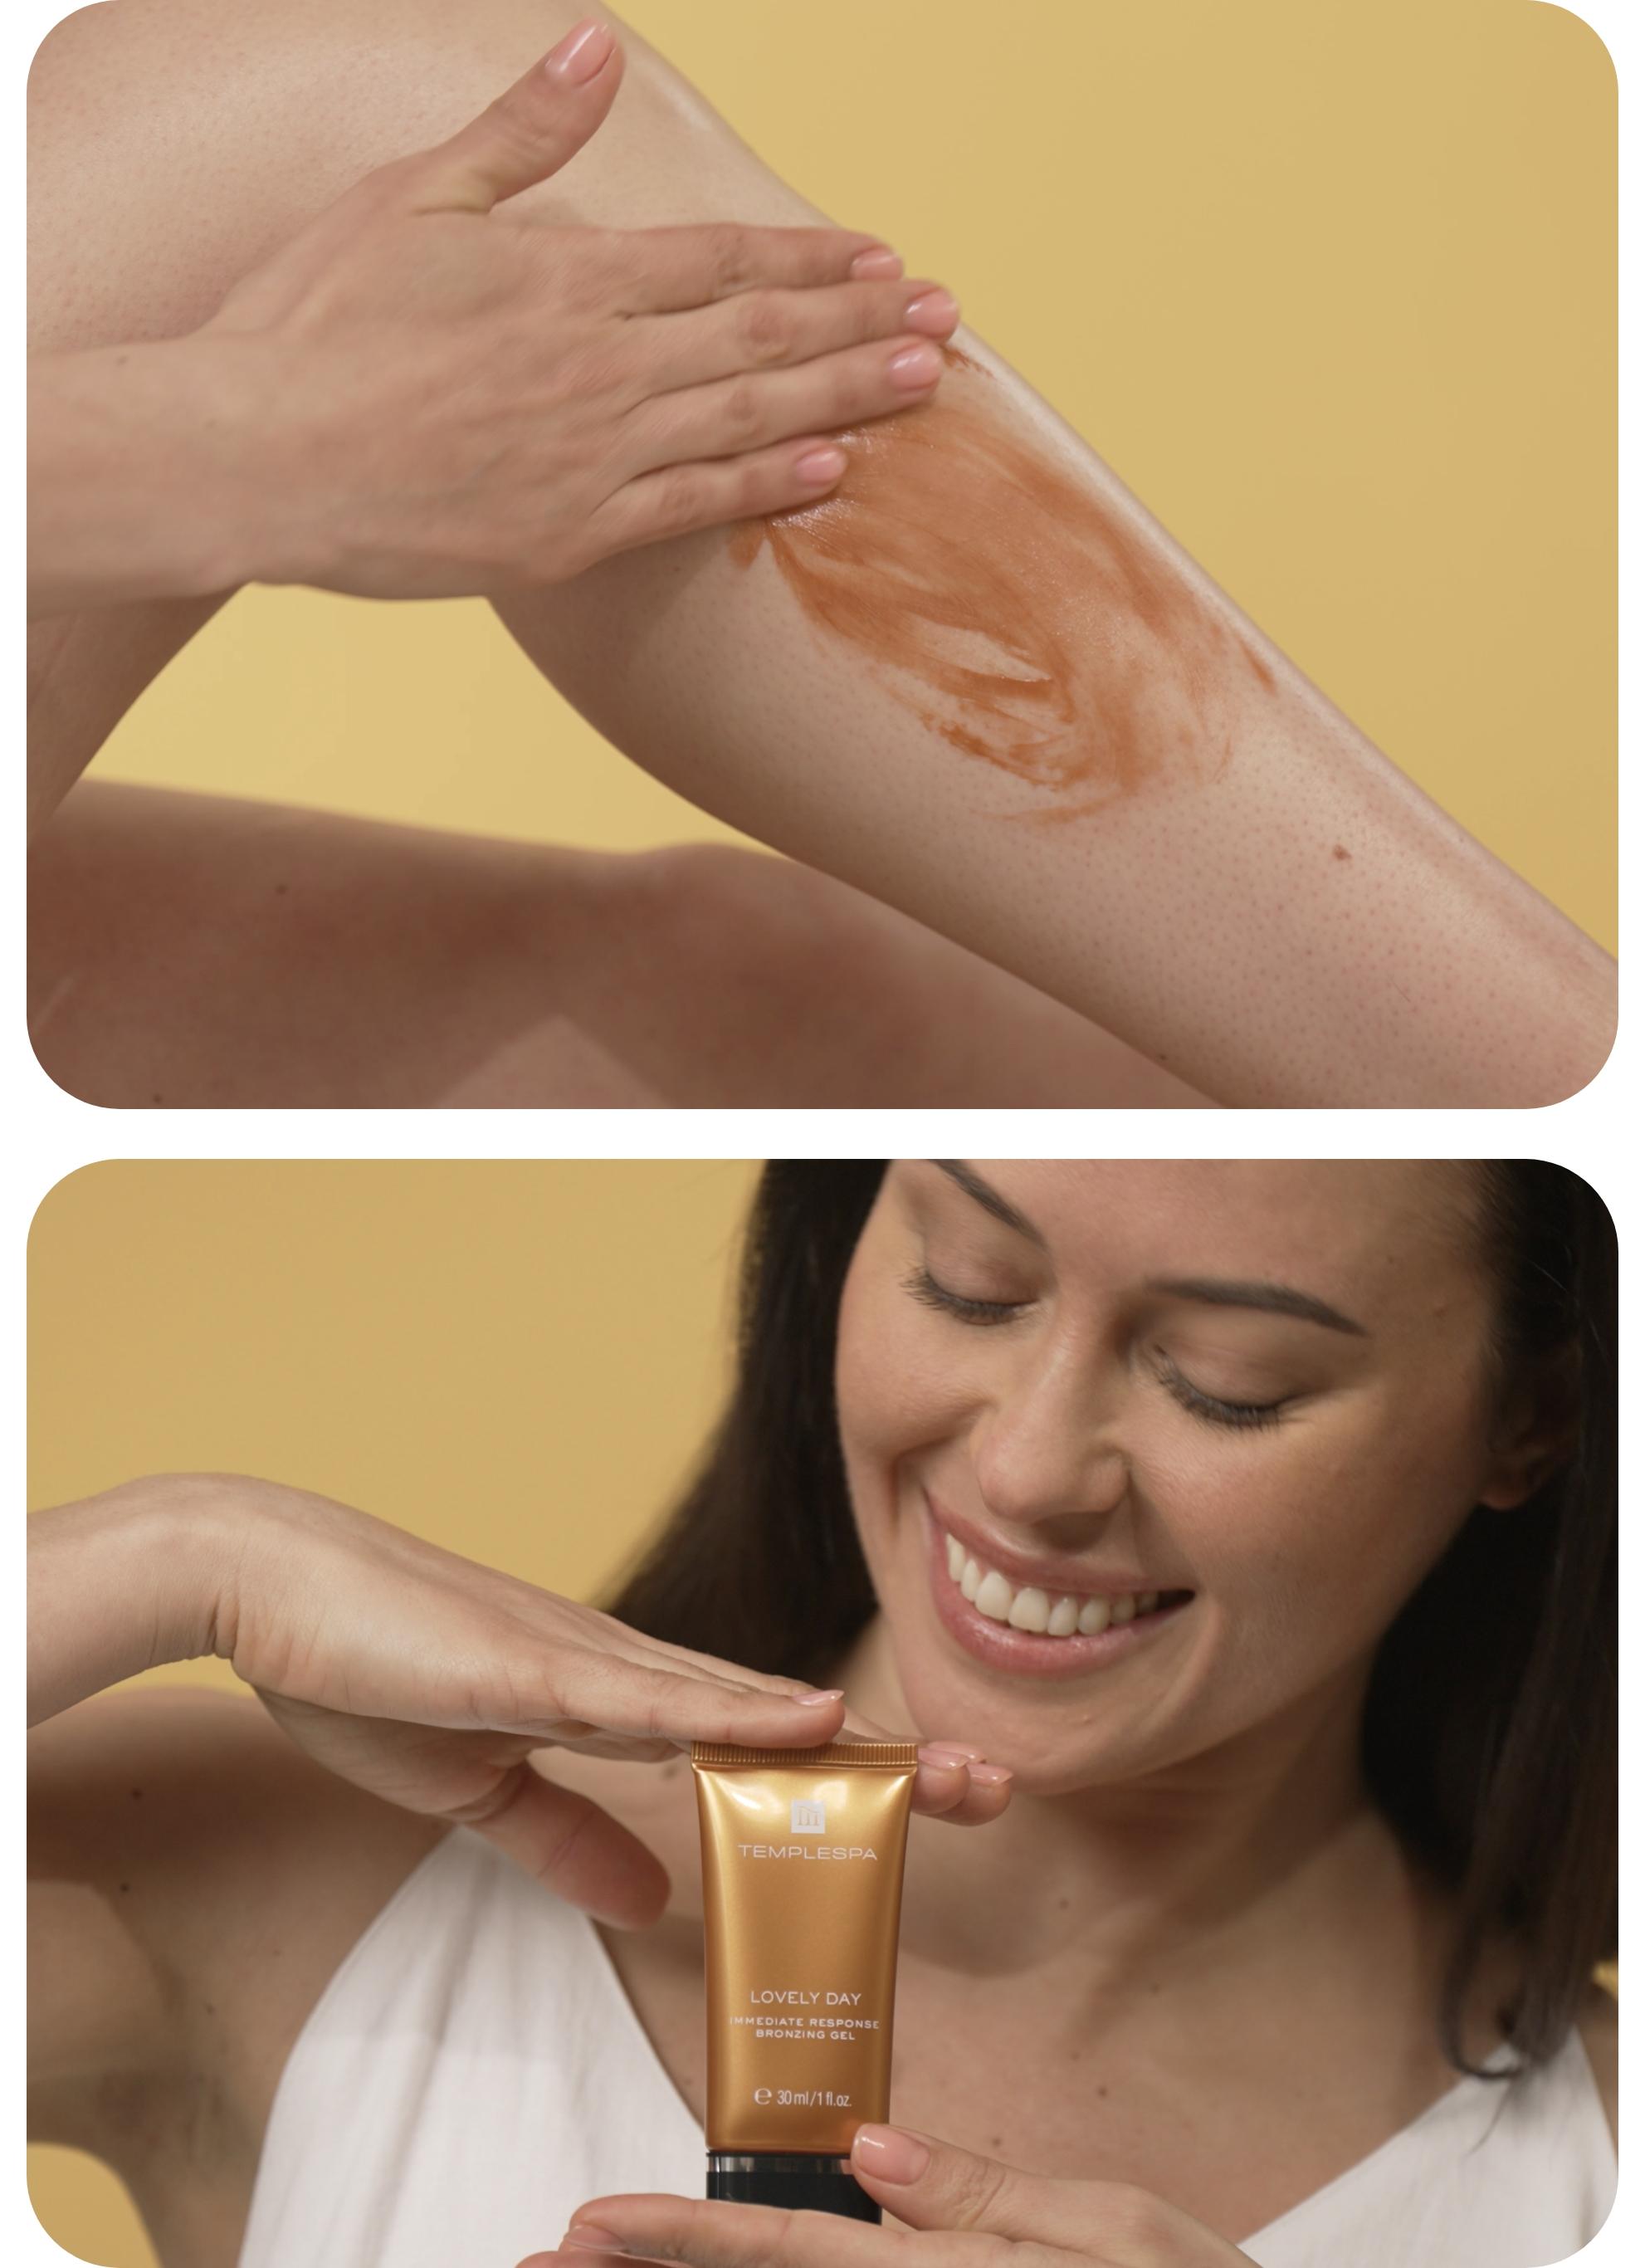
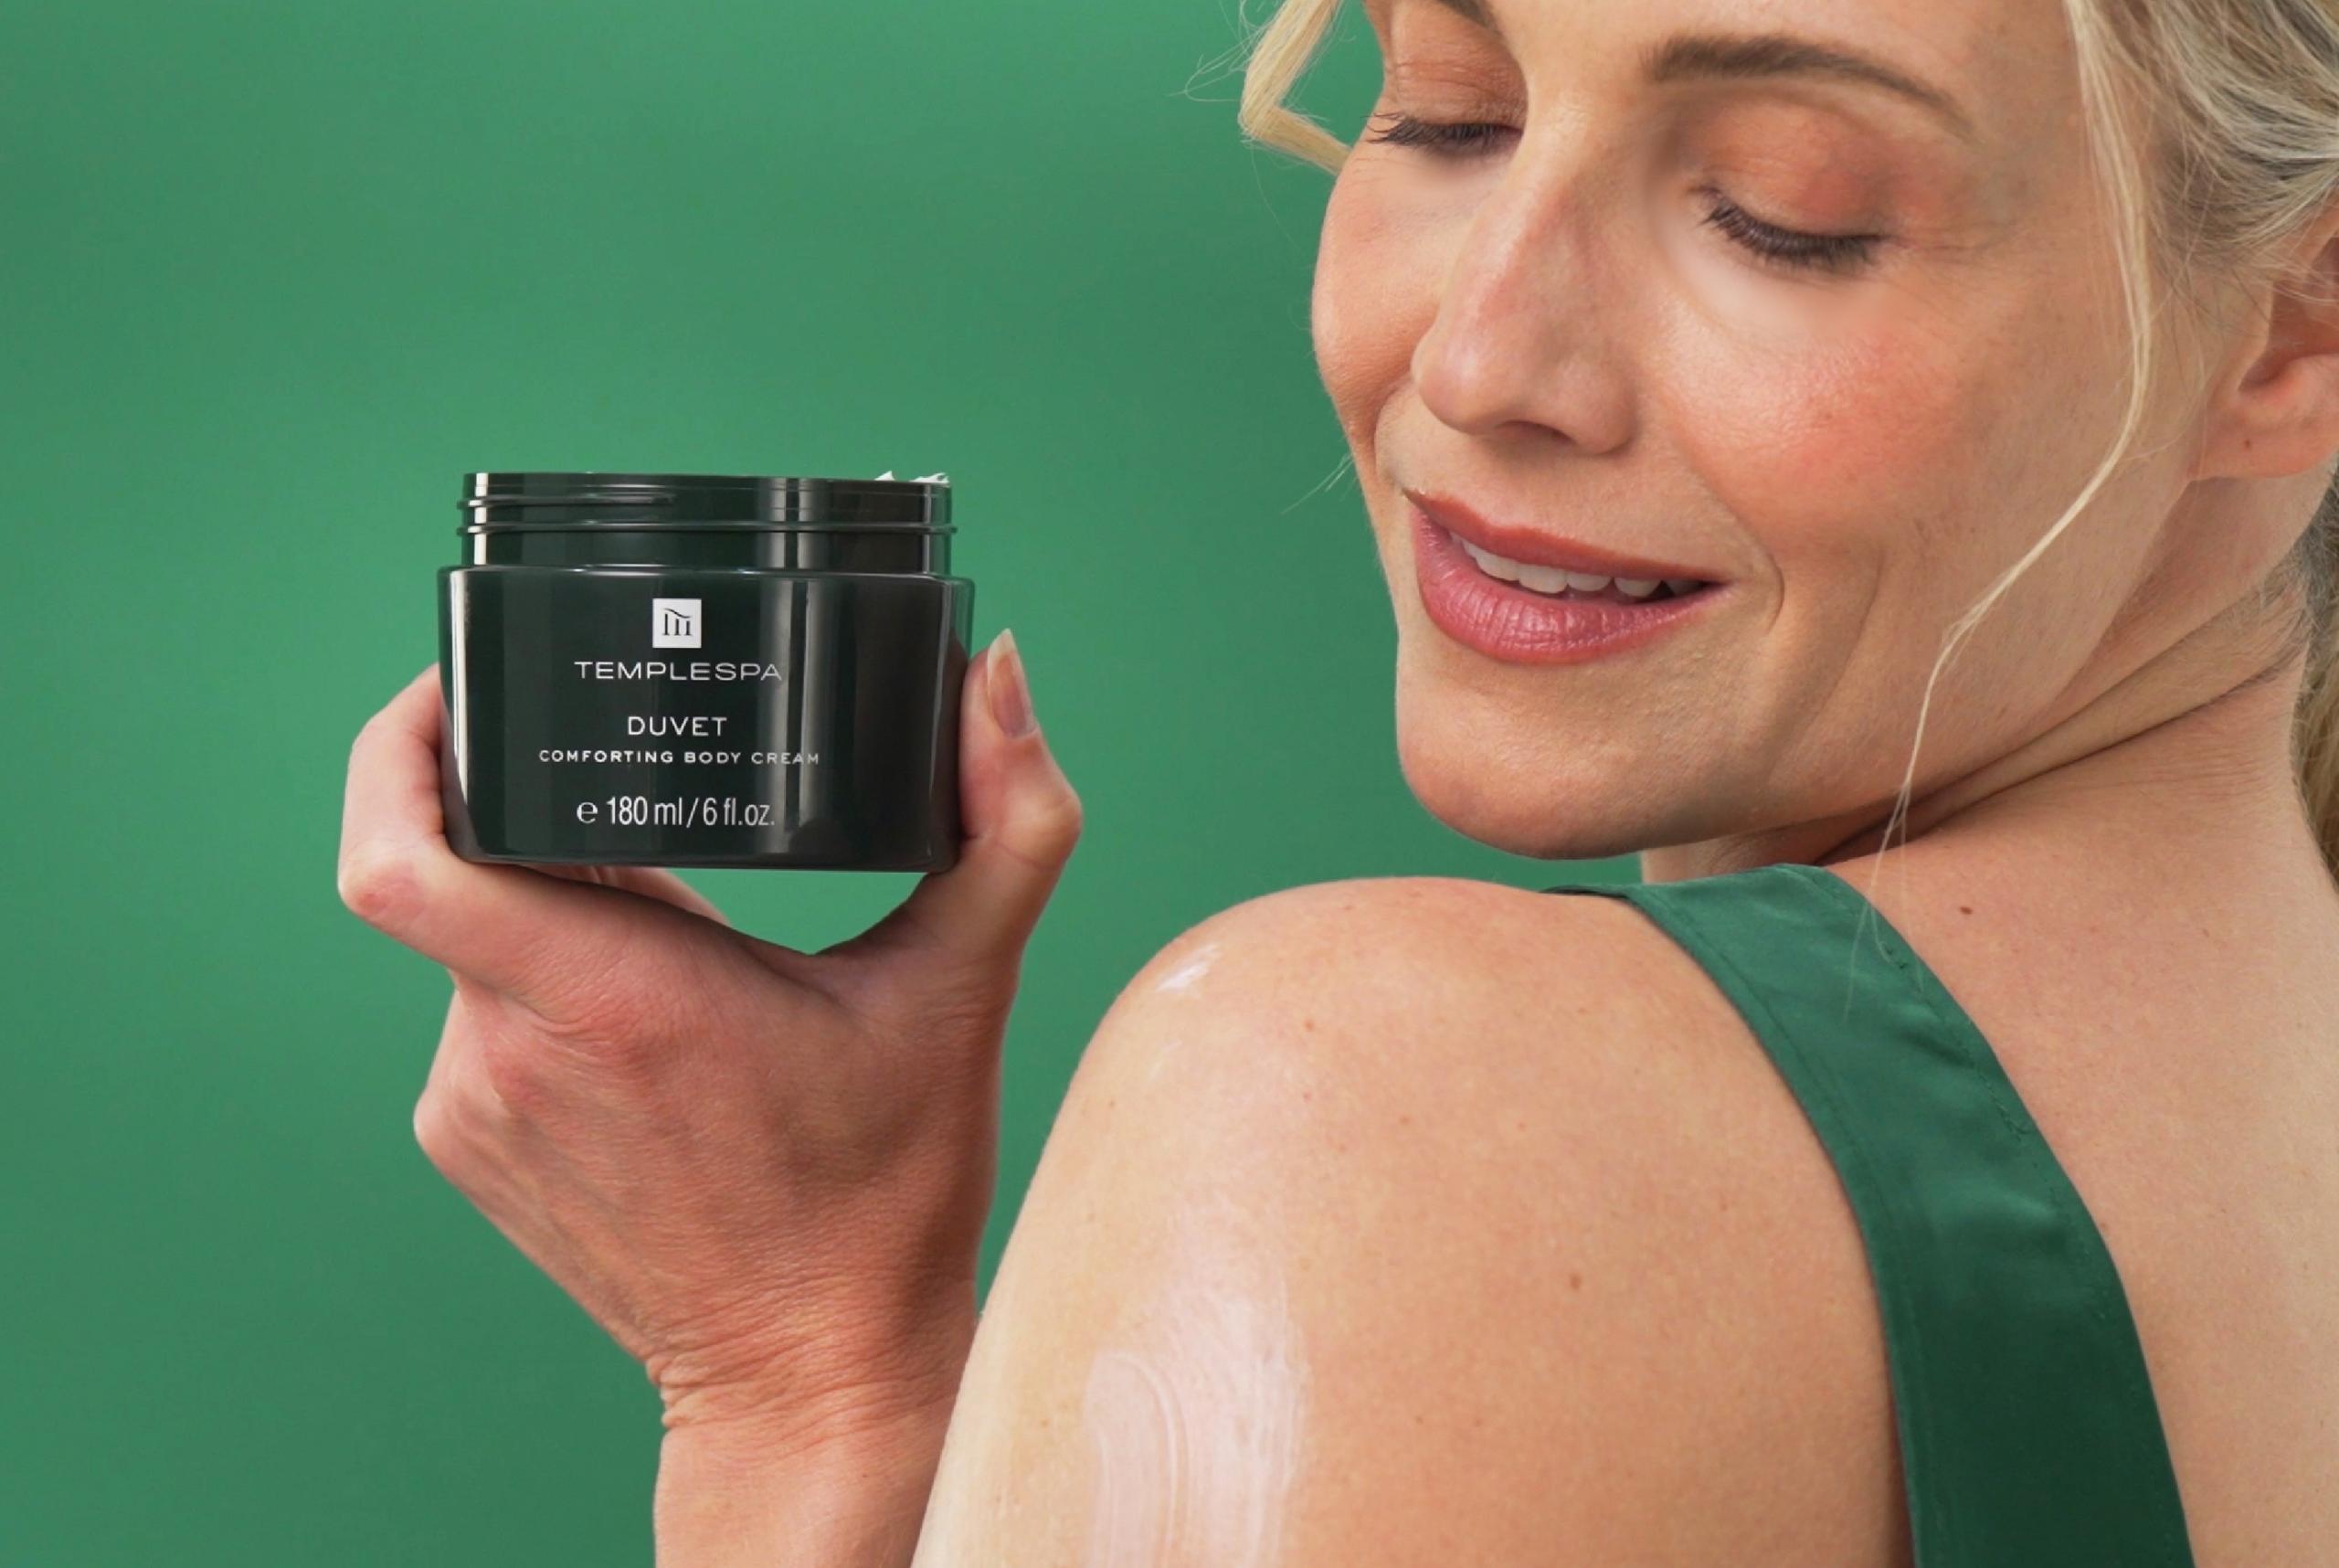
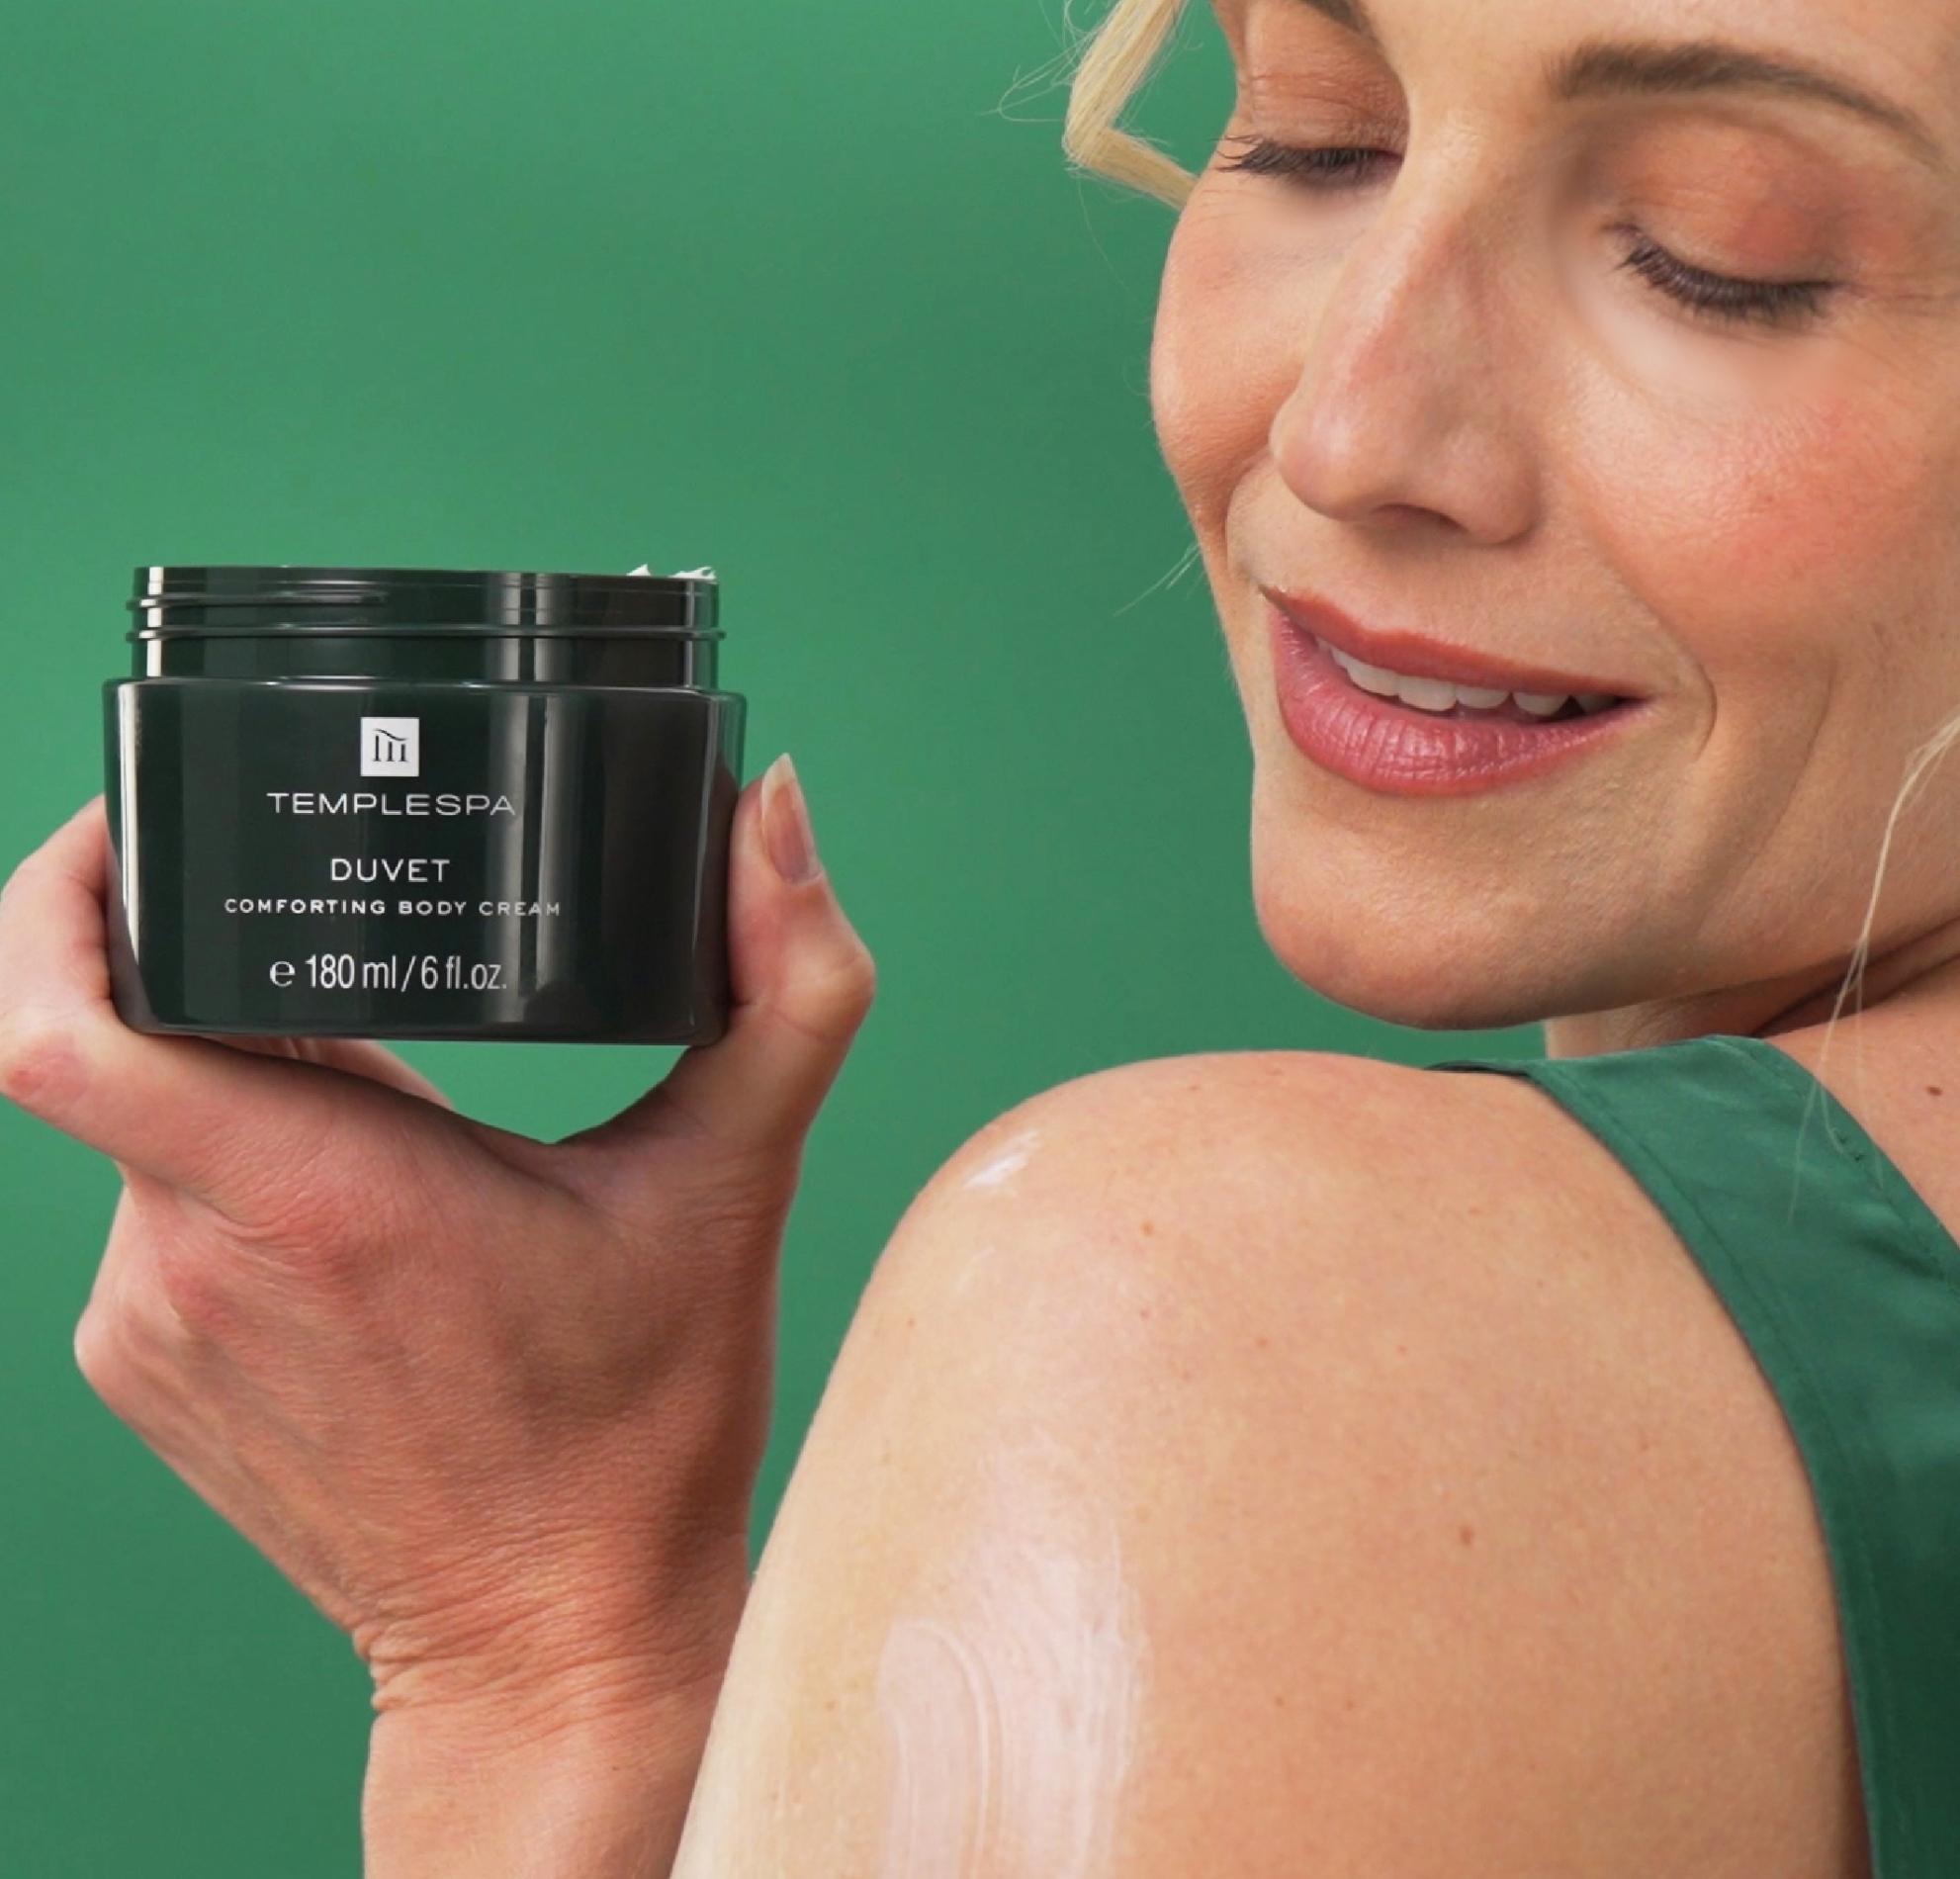
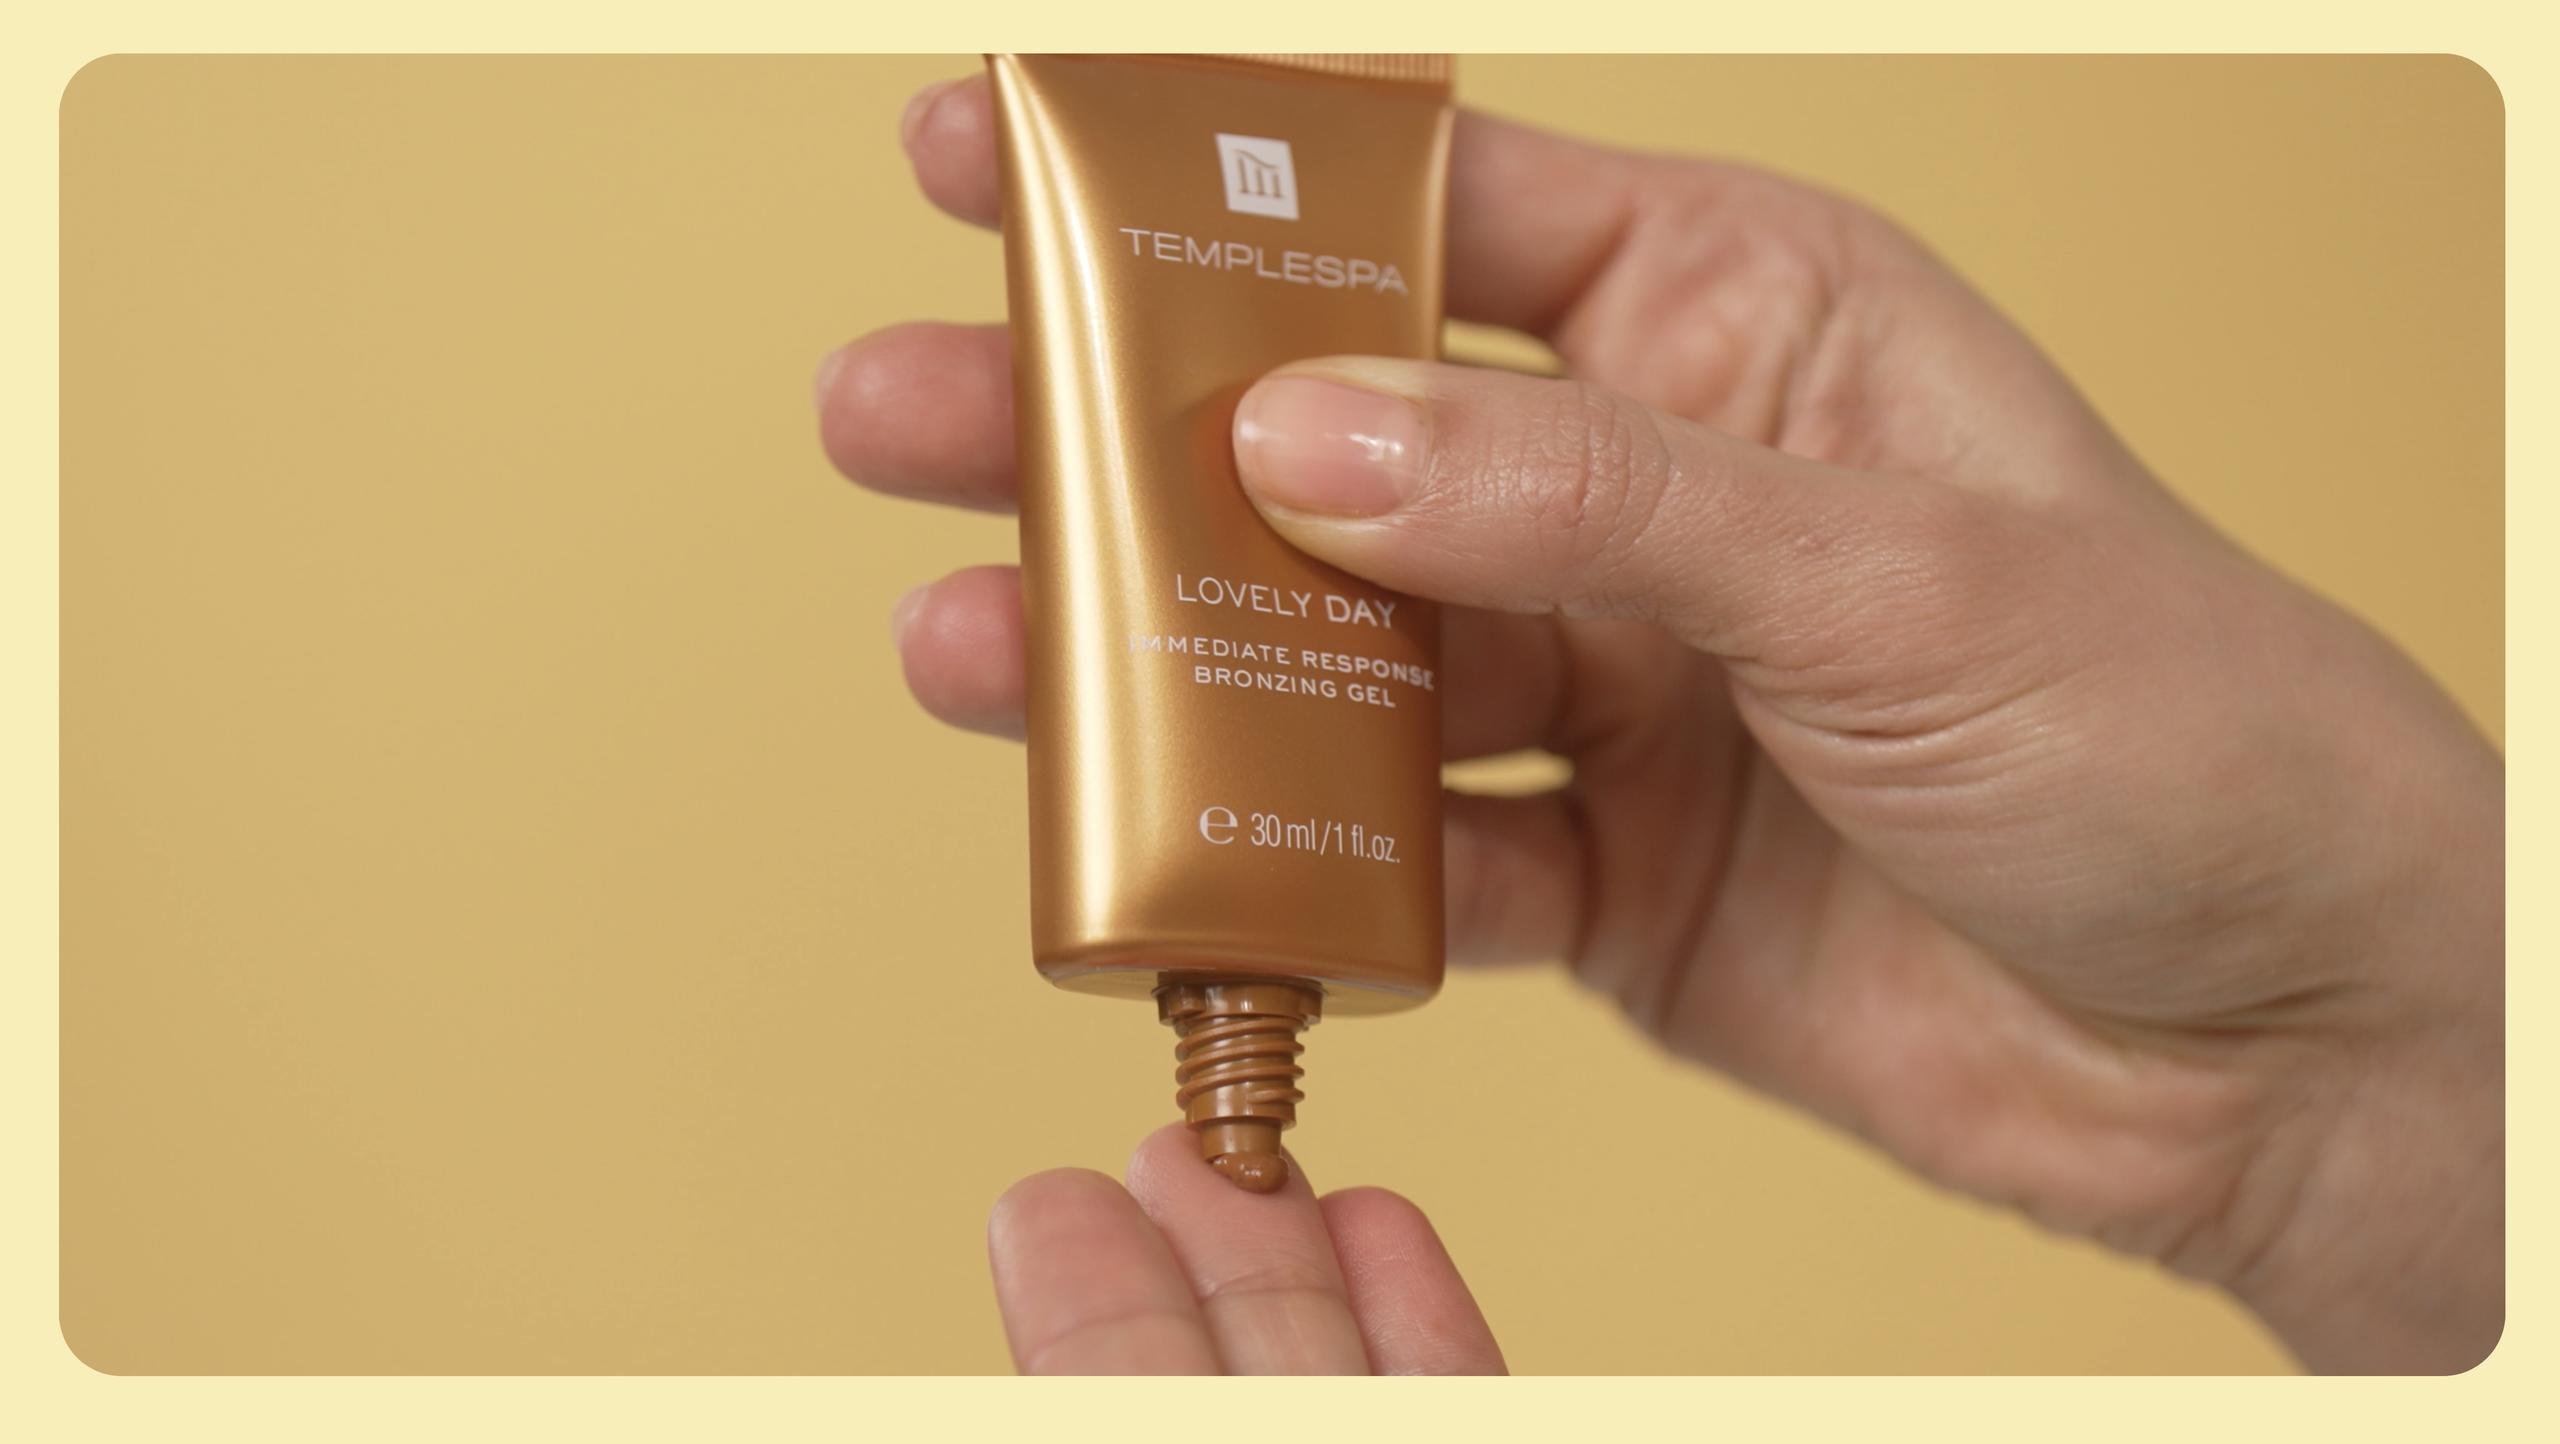
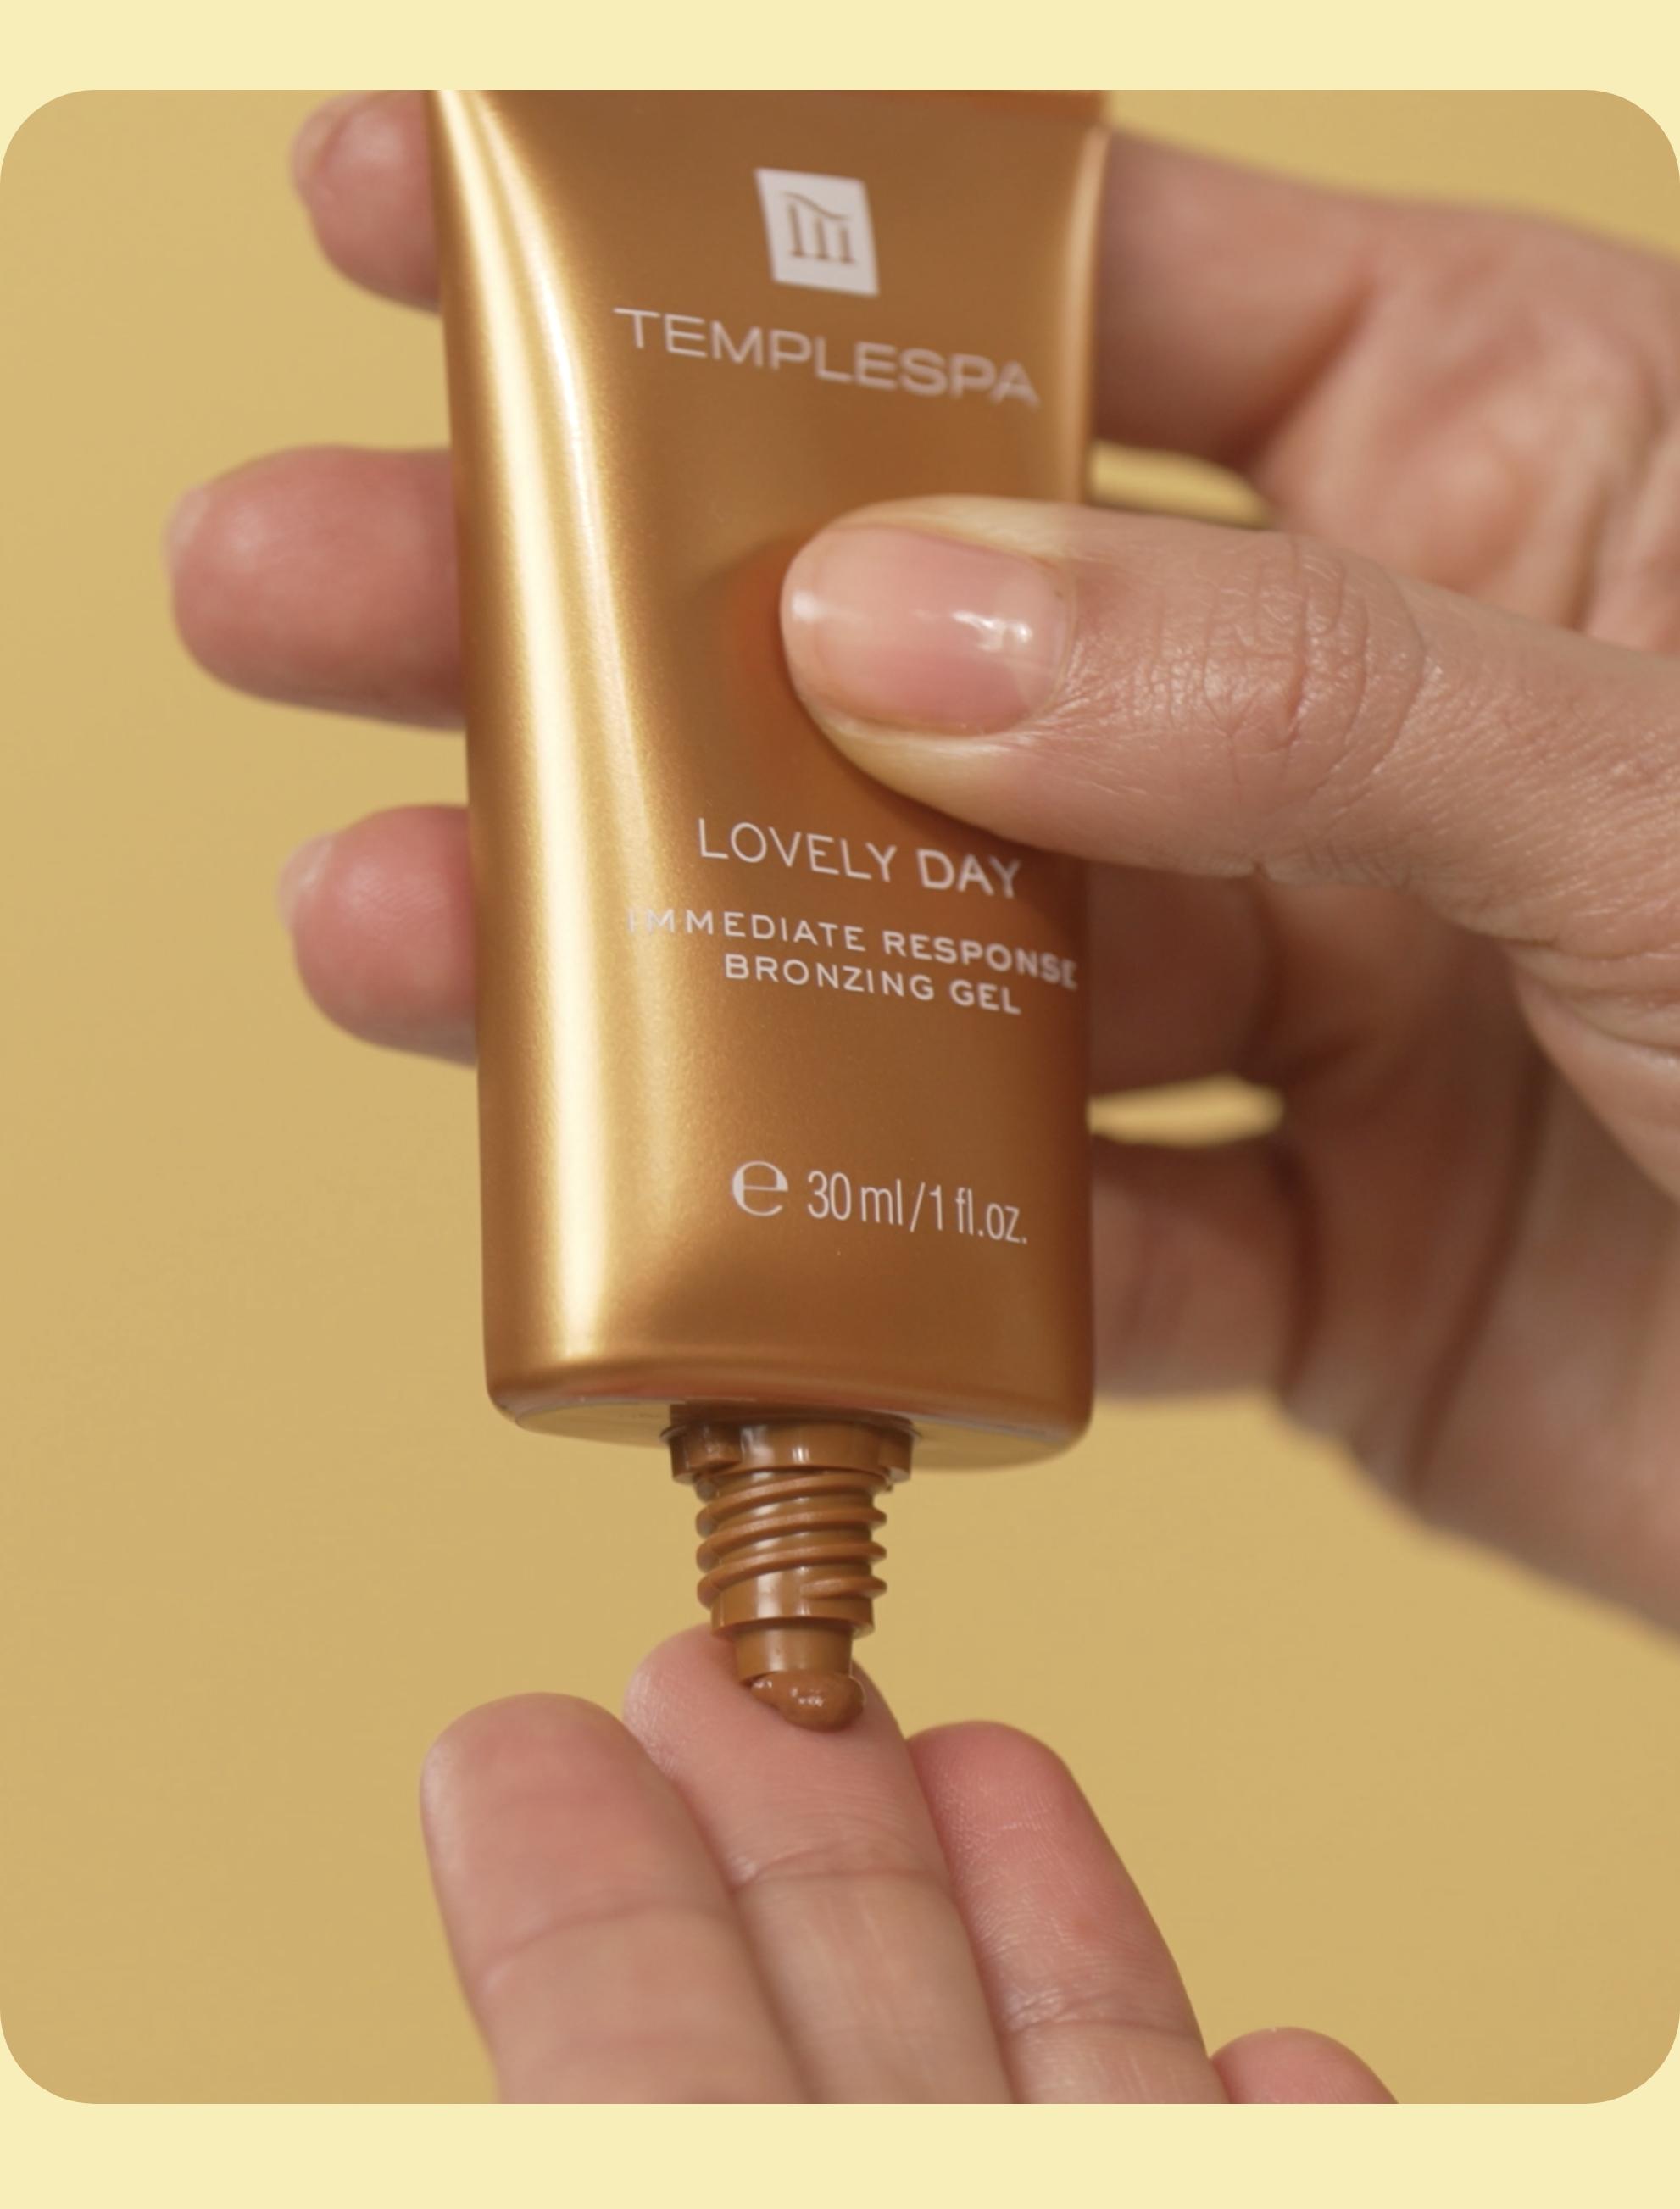
That’s why our TEMPLESPA guide on “How to Achieve the Best Fake Tan Ever” will talk you through the whole self-tanning process and make sure you not only cover the basics but the ‘tricky bits’ too. This means you will be able to flaunt your beautifully tanned body with both confidence and style. Naturally, we also have a fantastic range of bodycare products and LOVELY DAY Instant Bronzing Gel that, along with these tips, will help you achieve the perfect bronzed look you’re aiming for.
PAM - 3 basic steps to achieving the best fake tan
The best way to self-tan is to follow PAM. PAM consists of three simple and easy to remember steps that help to create a healthy looking and flawless semi-permanent fake tan. These are PREPARATION, APPLICATION and MAINTENANCE.
How to prepare your skin for a fake tan
Preparing your skin before you self-tan is one of the key aspects to achieving a jaw dropping, long-lasting tan that will be the envy of all your friends. Follow the steps and tips below and you will be well on your way to becoming a bronzed summer beauty.
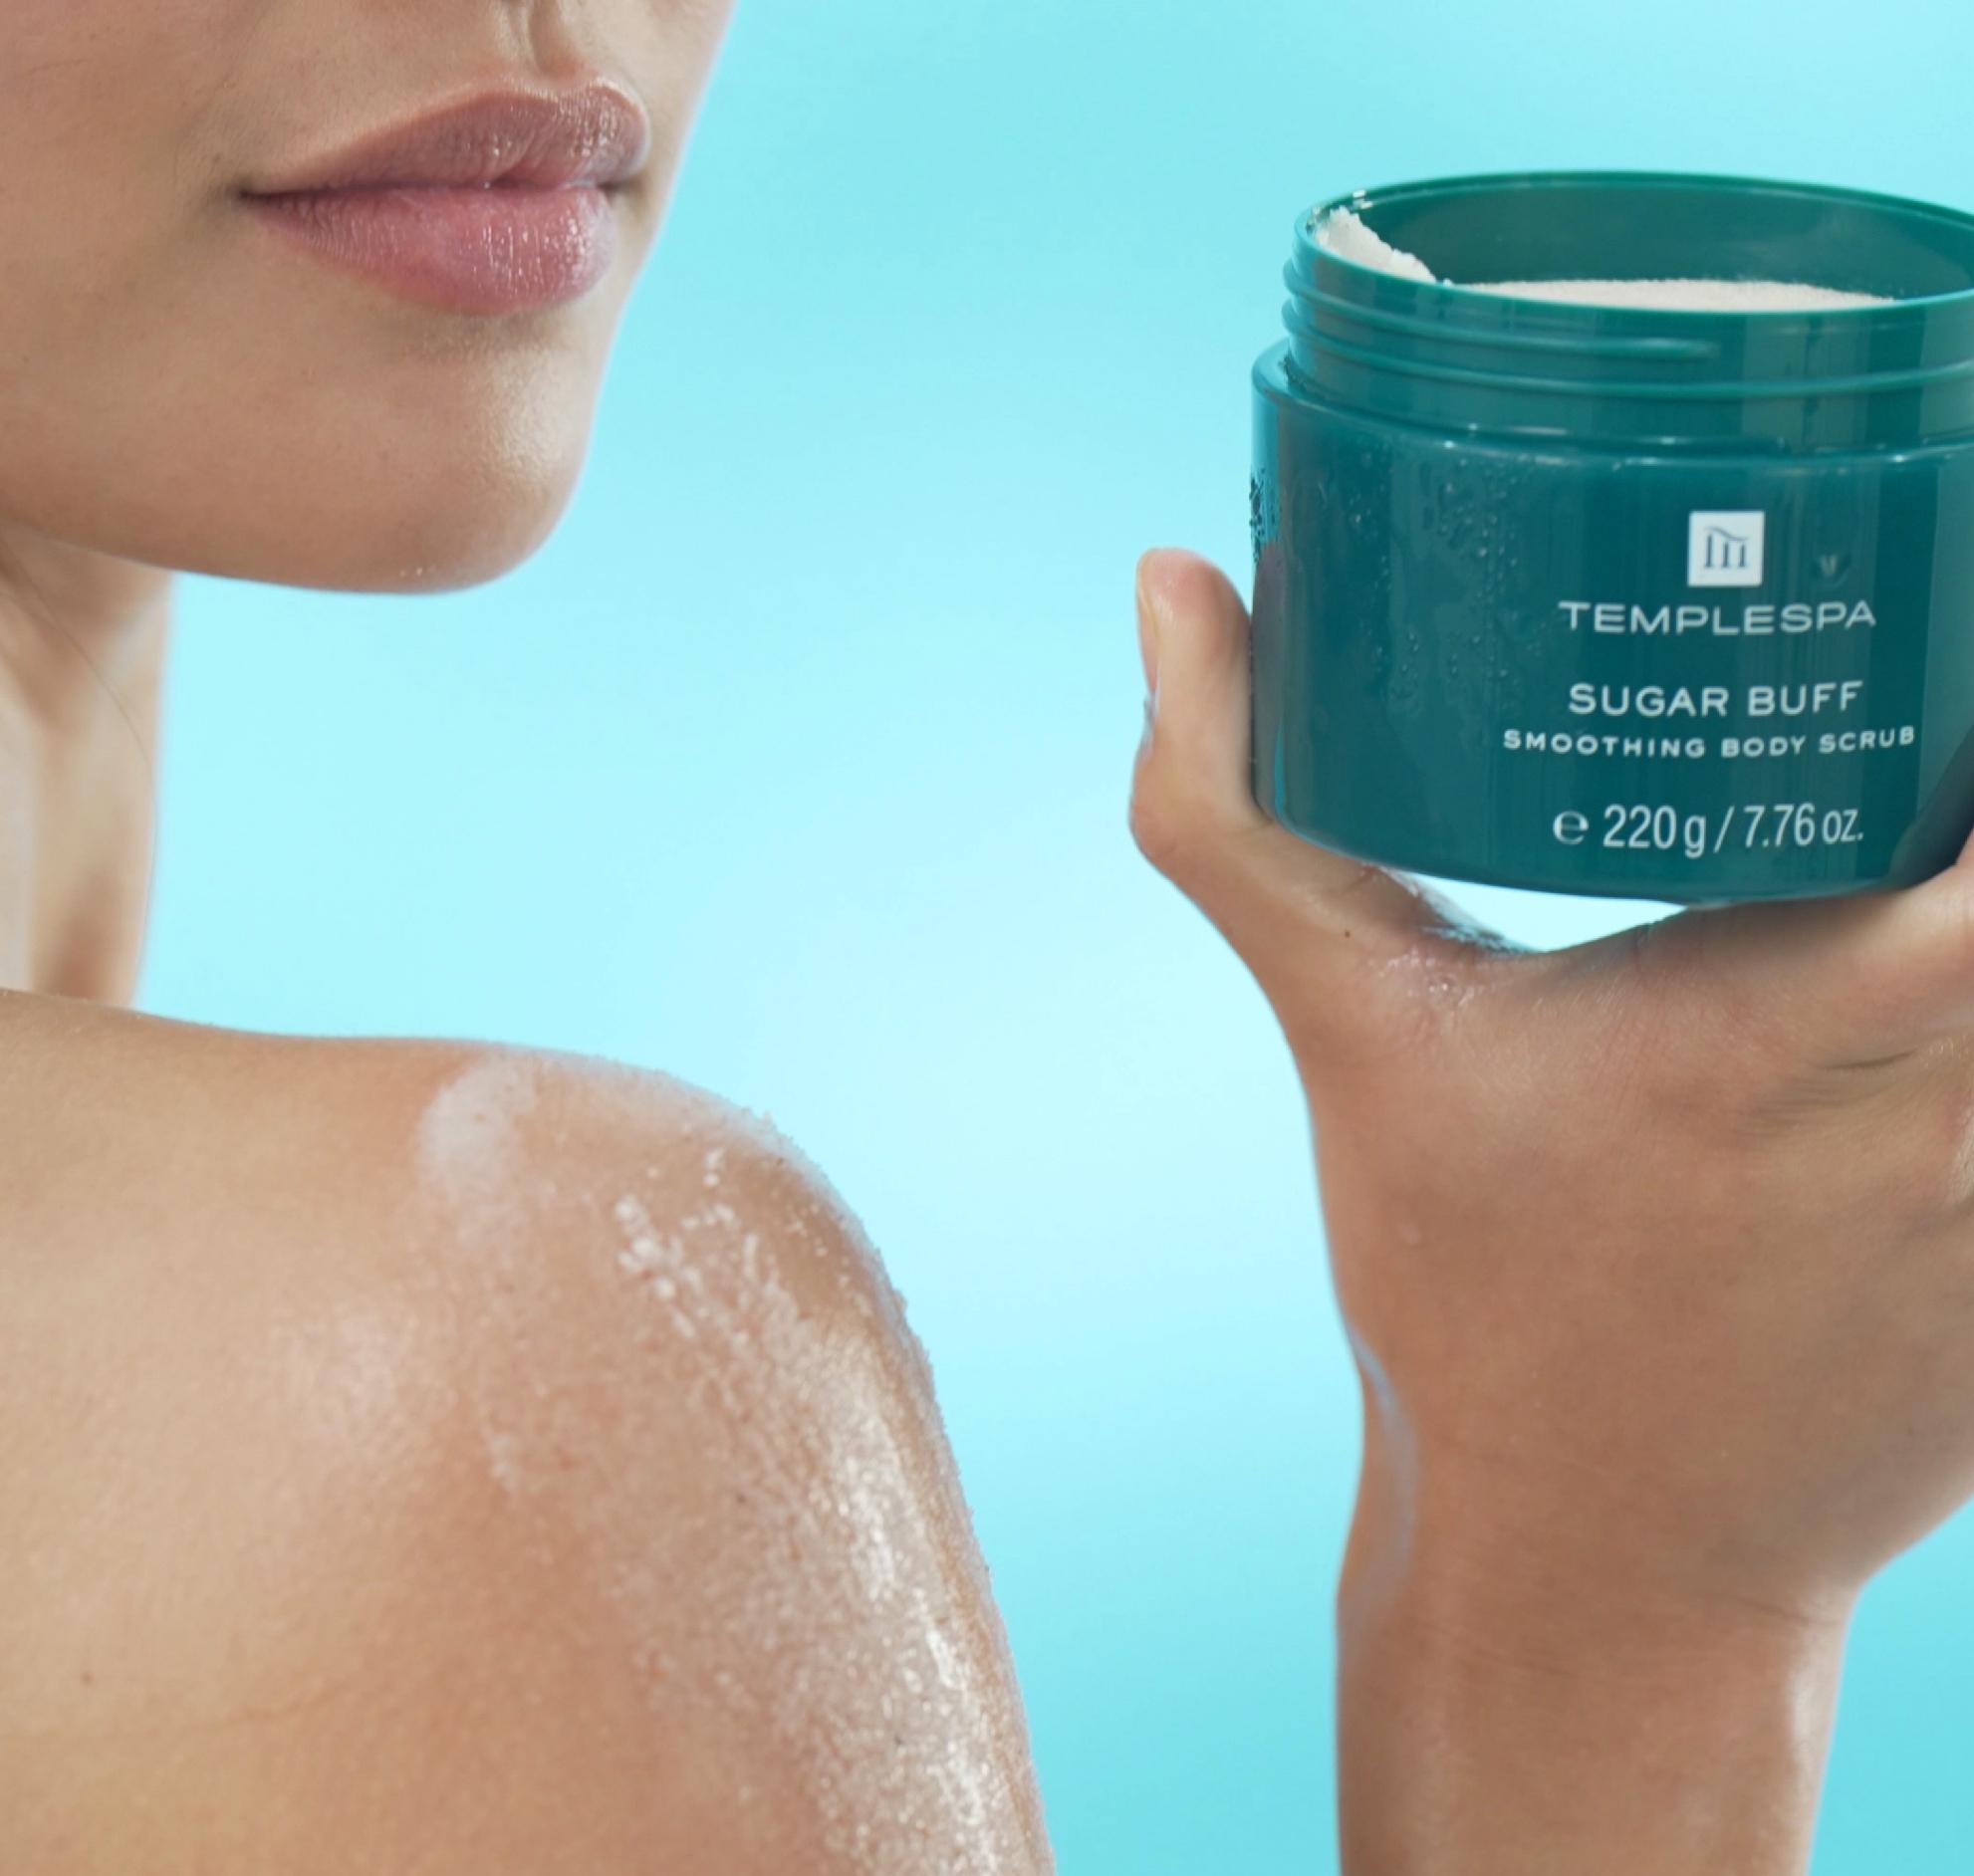
1. Exfoliate
2. Cleanse skin
3. Moisturise
4. Barrier cream to the
hairline and eyebrows

Step 1
Exfoliate your skin
Having gorgeous, clean skin is great but not if there are lots of dead skin cells determined to cling onto it! Exfoliation removes dead skin cells on the surface of your skin, unclogs your pores and prevents uneven skin tone which is of utmost importance when self-tanning. Exfoliate in the shower or bath by using a heavenly body scrub to get the ultimate results. However, if you would prefer to try dry skin brushing instead, then sit naked in the bath or shower and use a good body brush on your skin to make long brush strokes in the direction of the heart. This not only removes dead skin cells but helps to flush out toxins and fight bumpy skin too. Bonus!
Step 2
Cleanse your skin
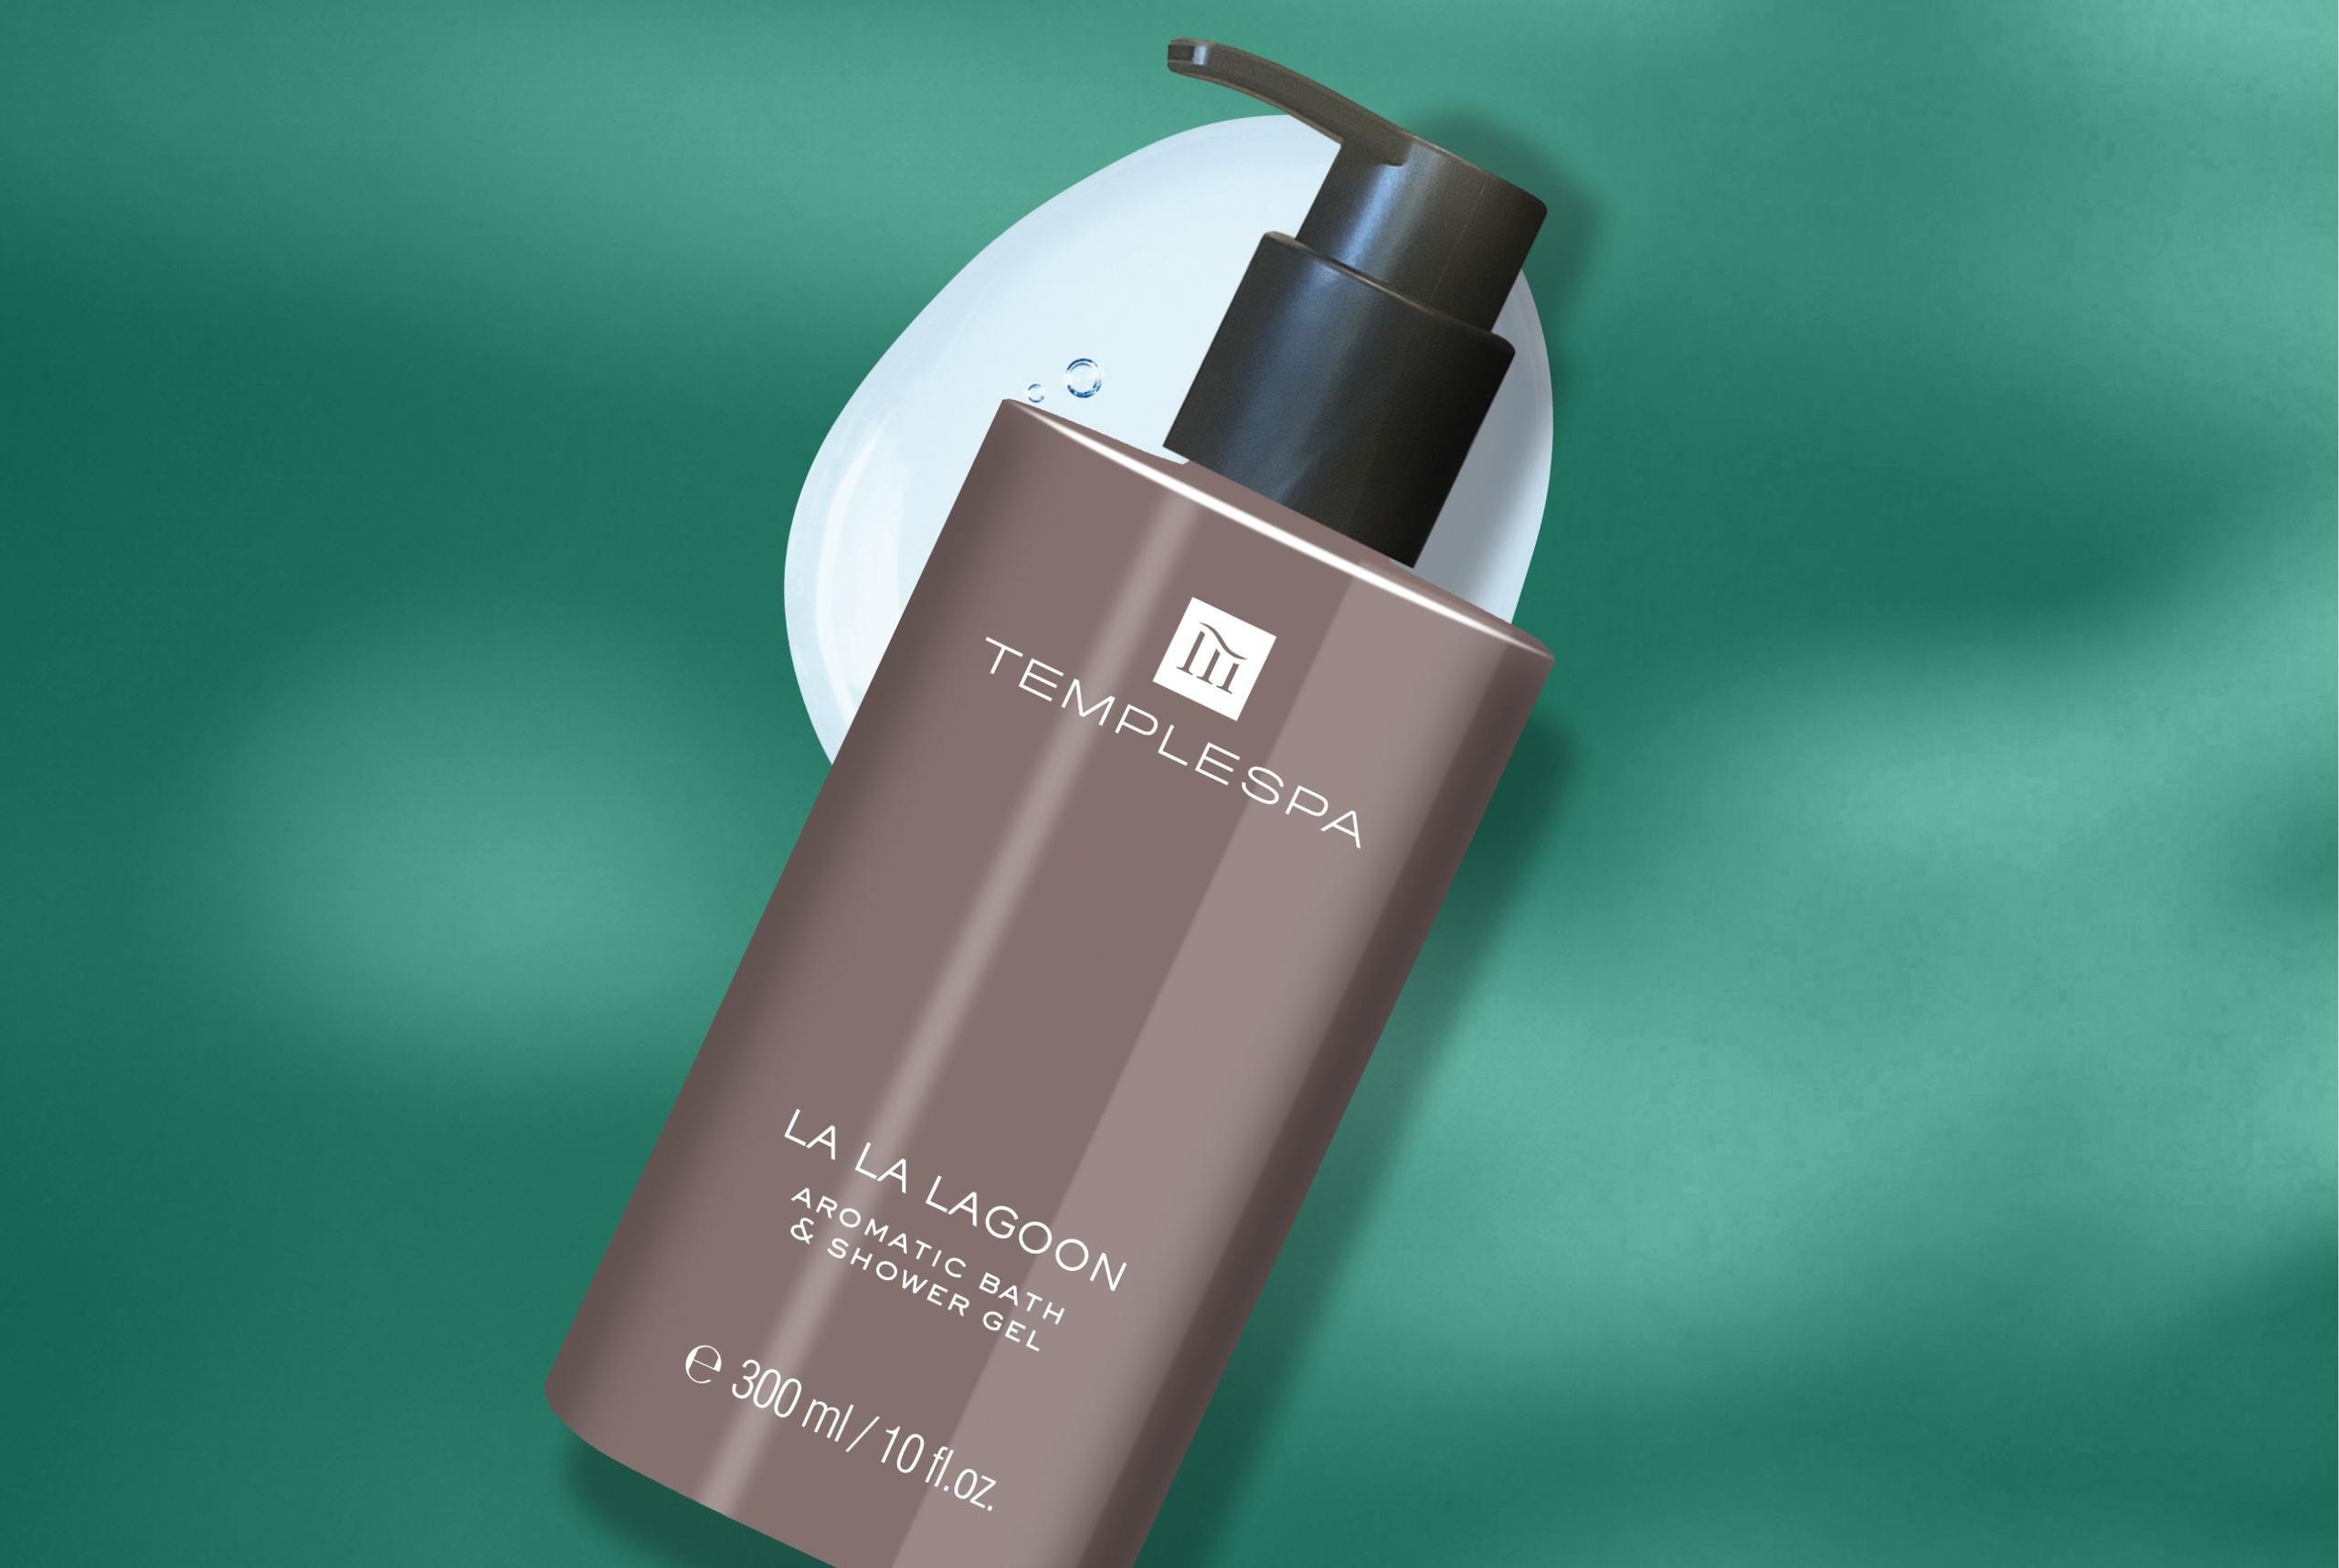
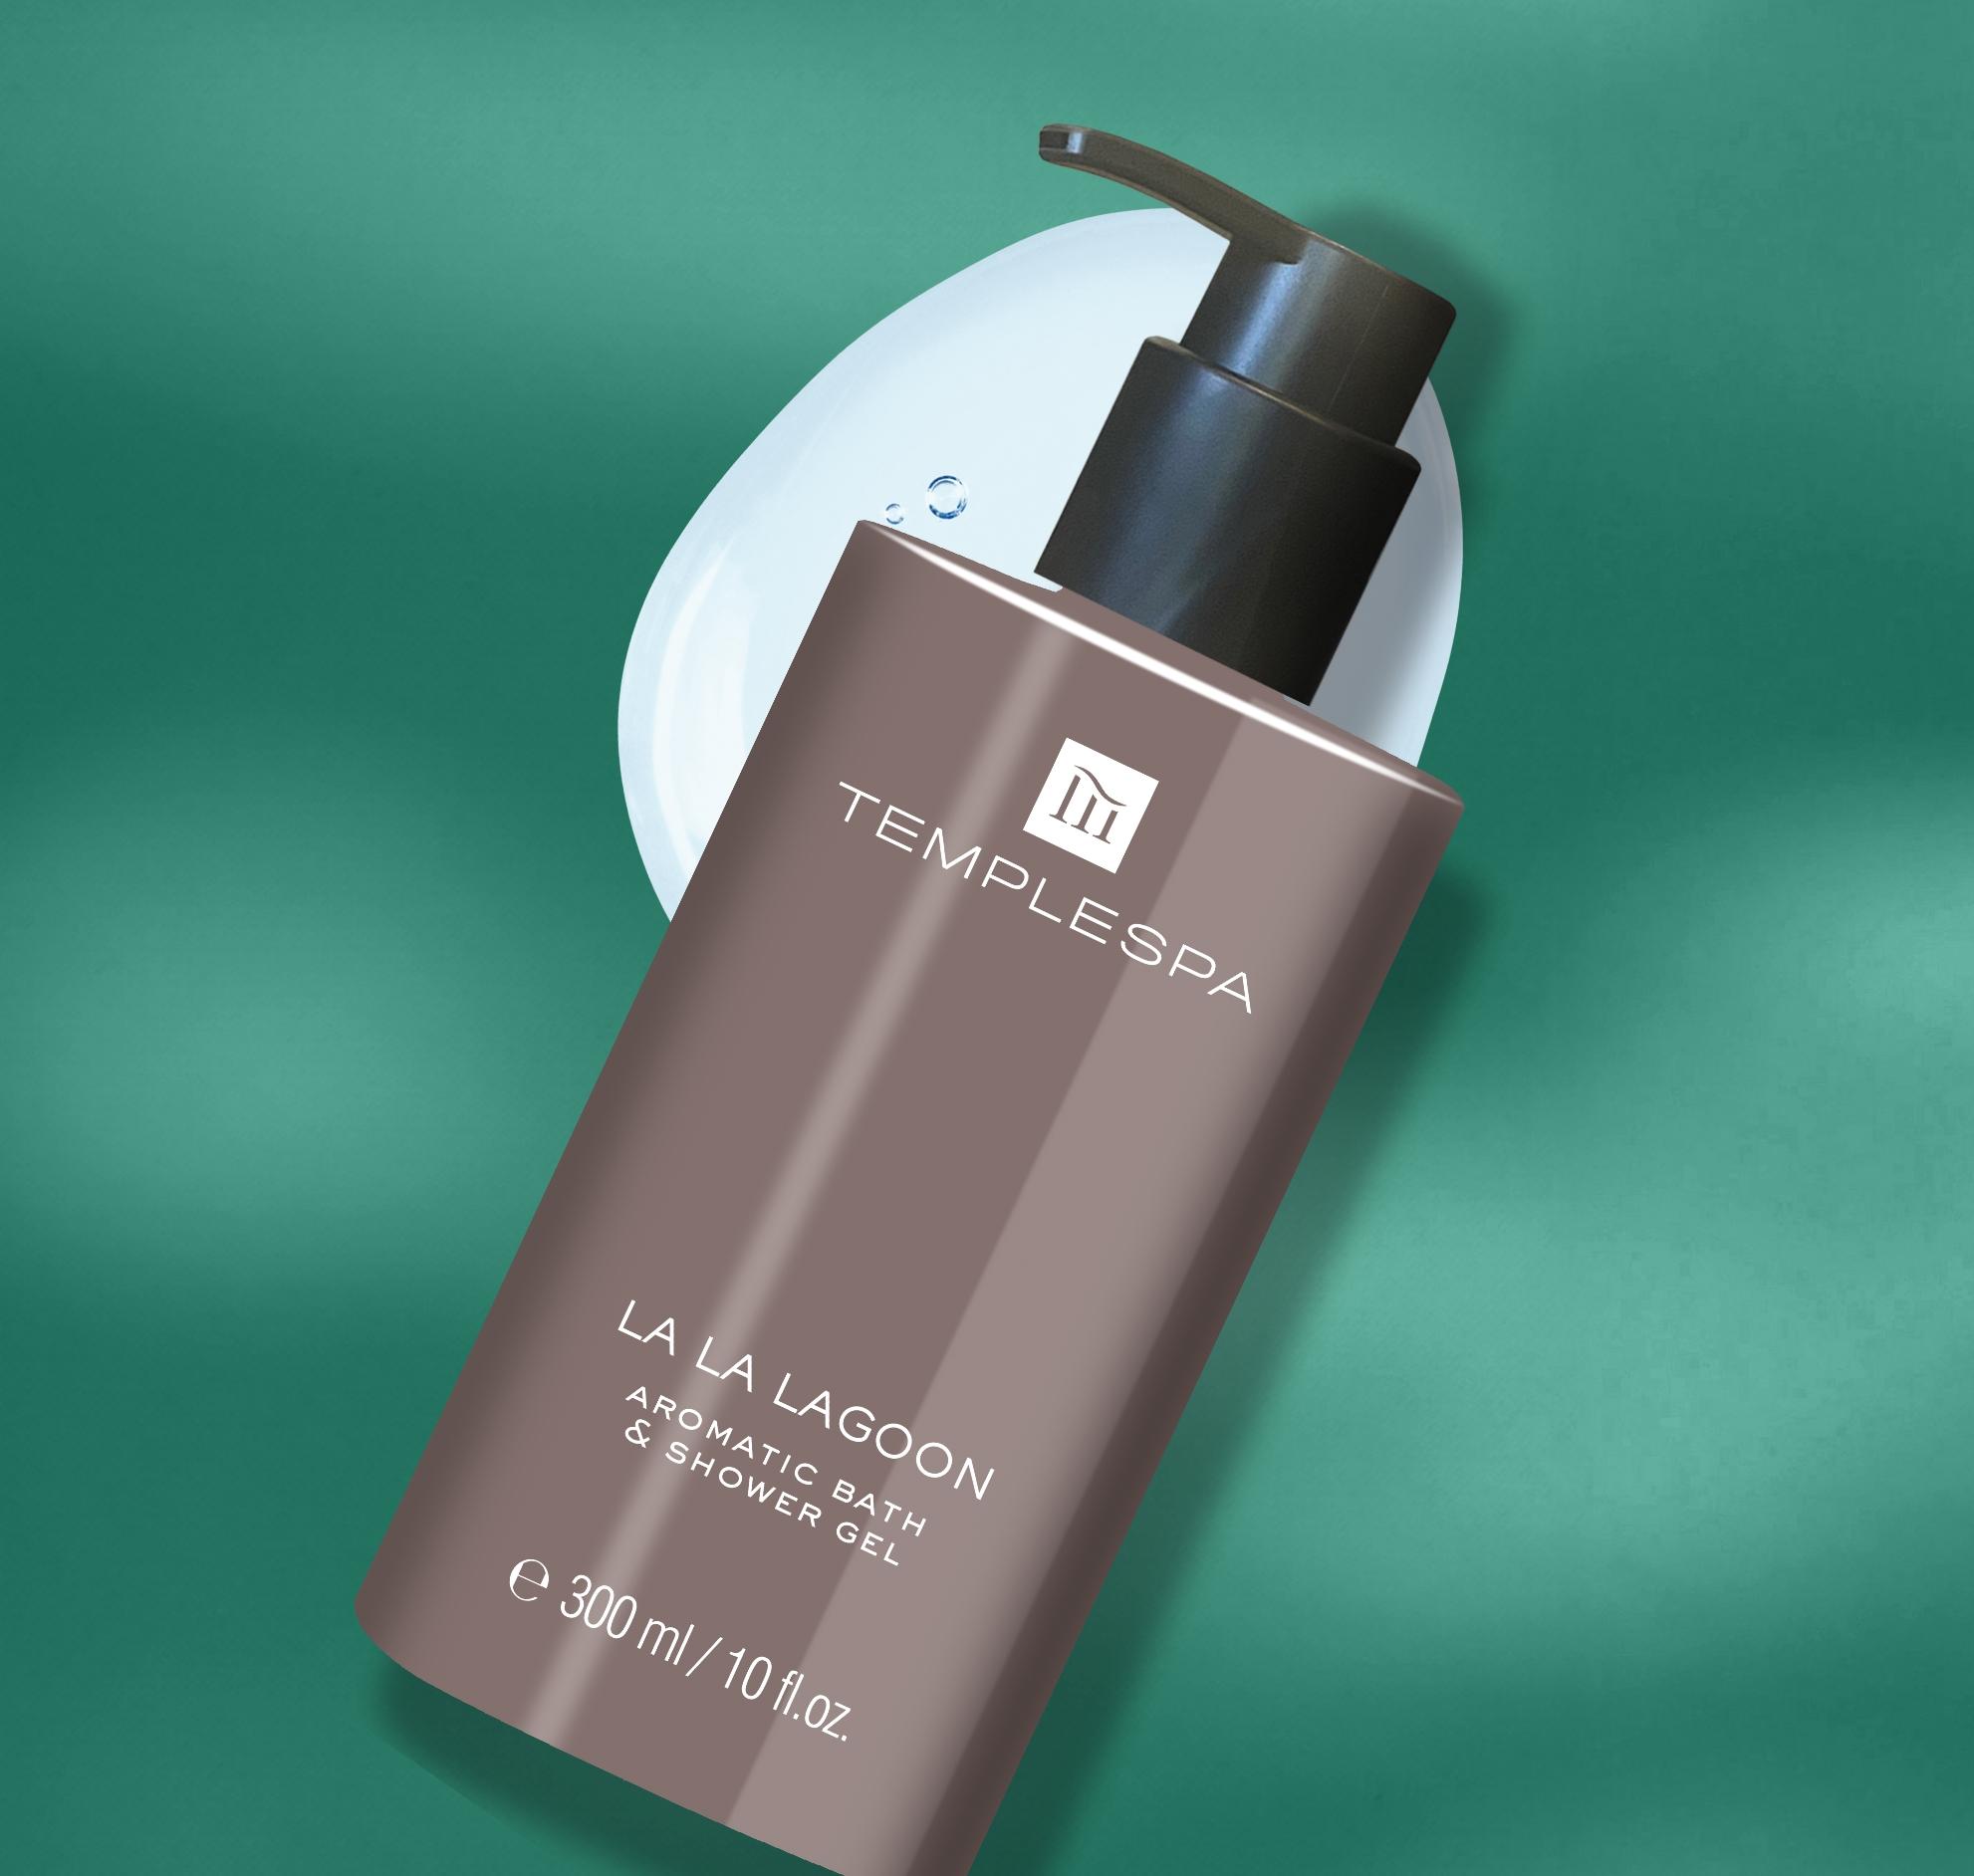
Before applying fake tan, it’s vitally important to have clean skin. By making sure you have a relaxing bath or shower with some of your favourite spa products and using a good cleanser on your face, you will ensure you have thoroughly eliminated all residual dust and dirt as well as dead skin cells. It’s the perfect way to follow on from exfoliation and really makes sure your skin is summer fresh and ready for the next part of the process.
Step 3
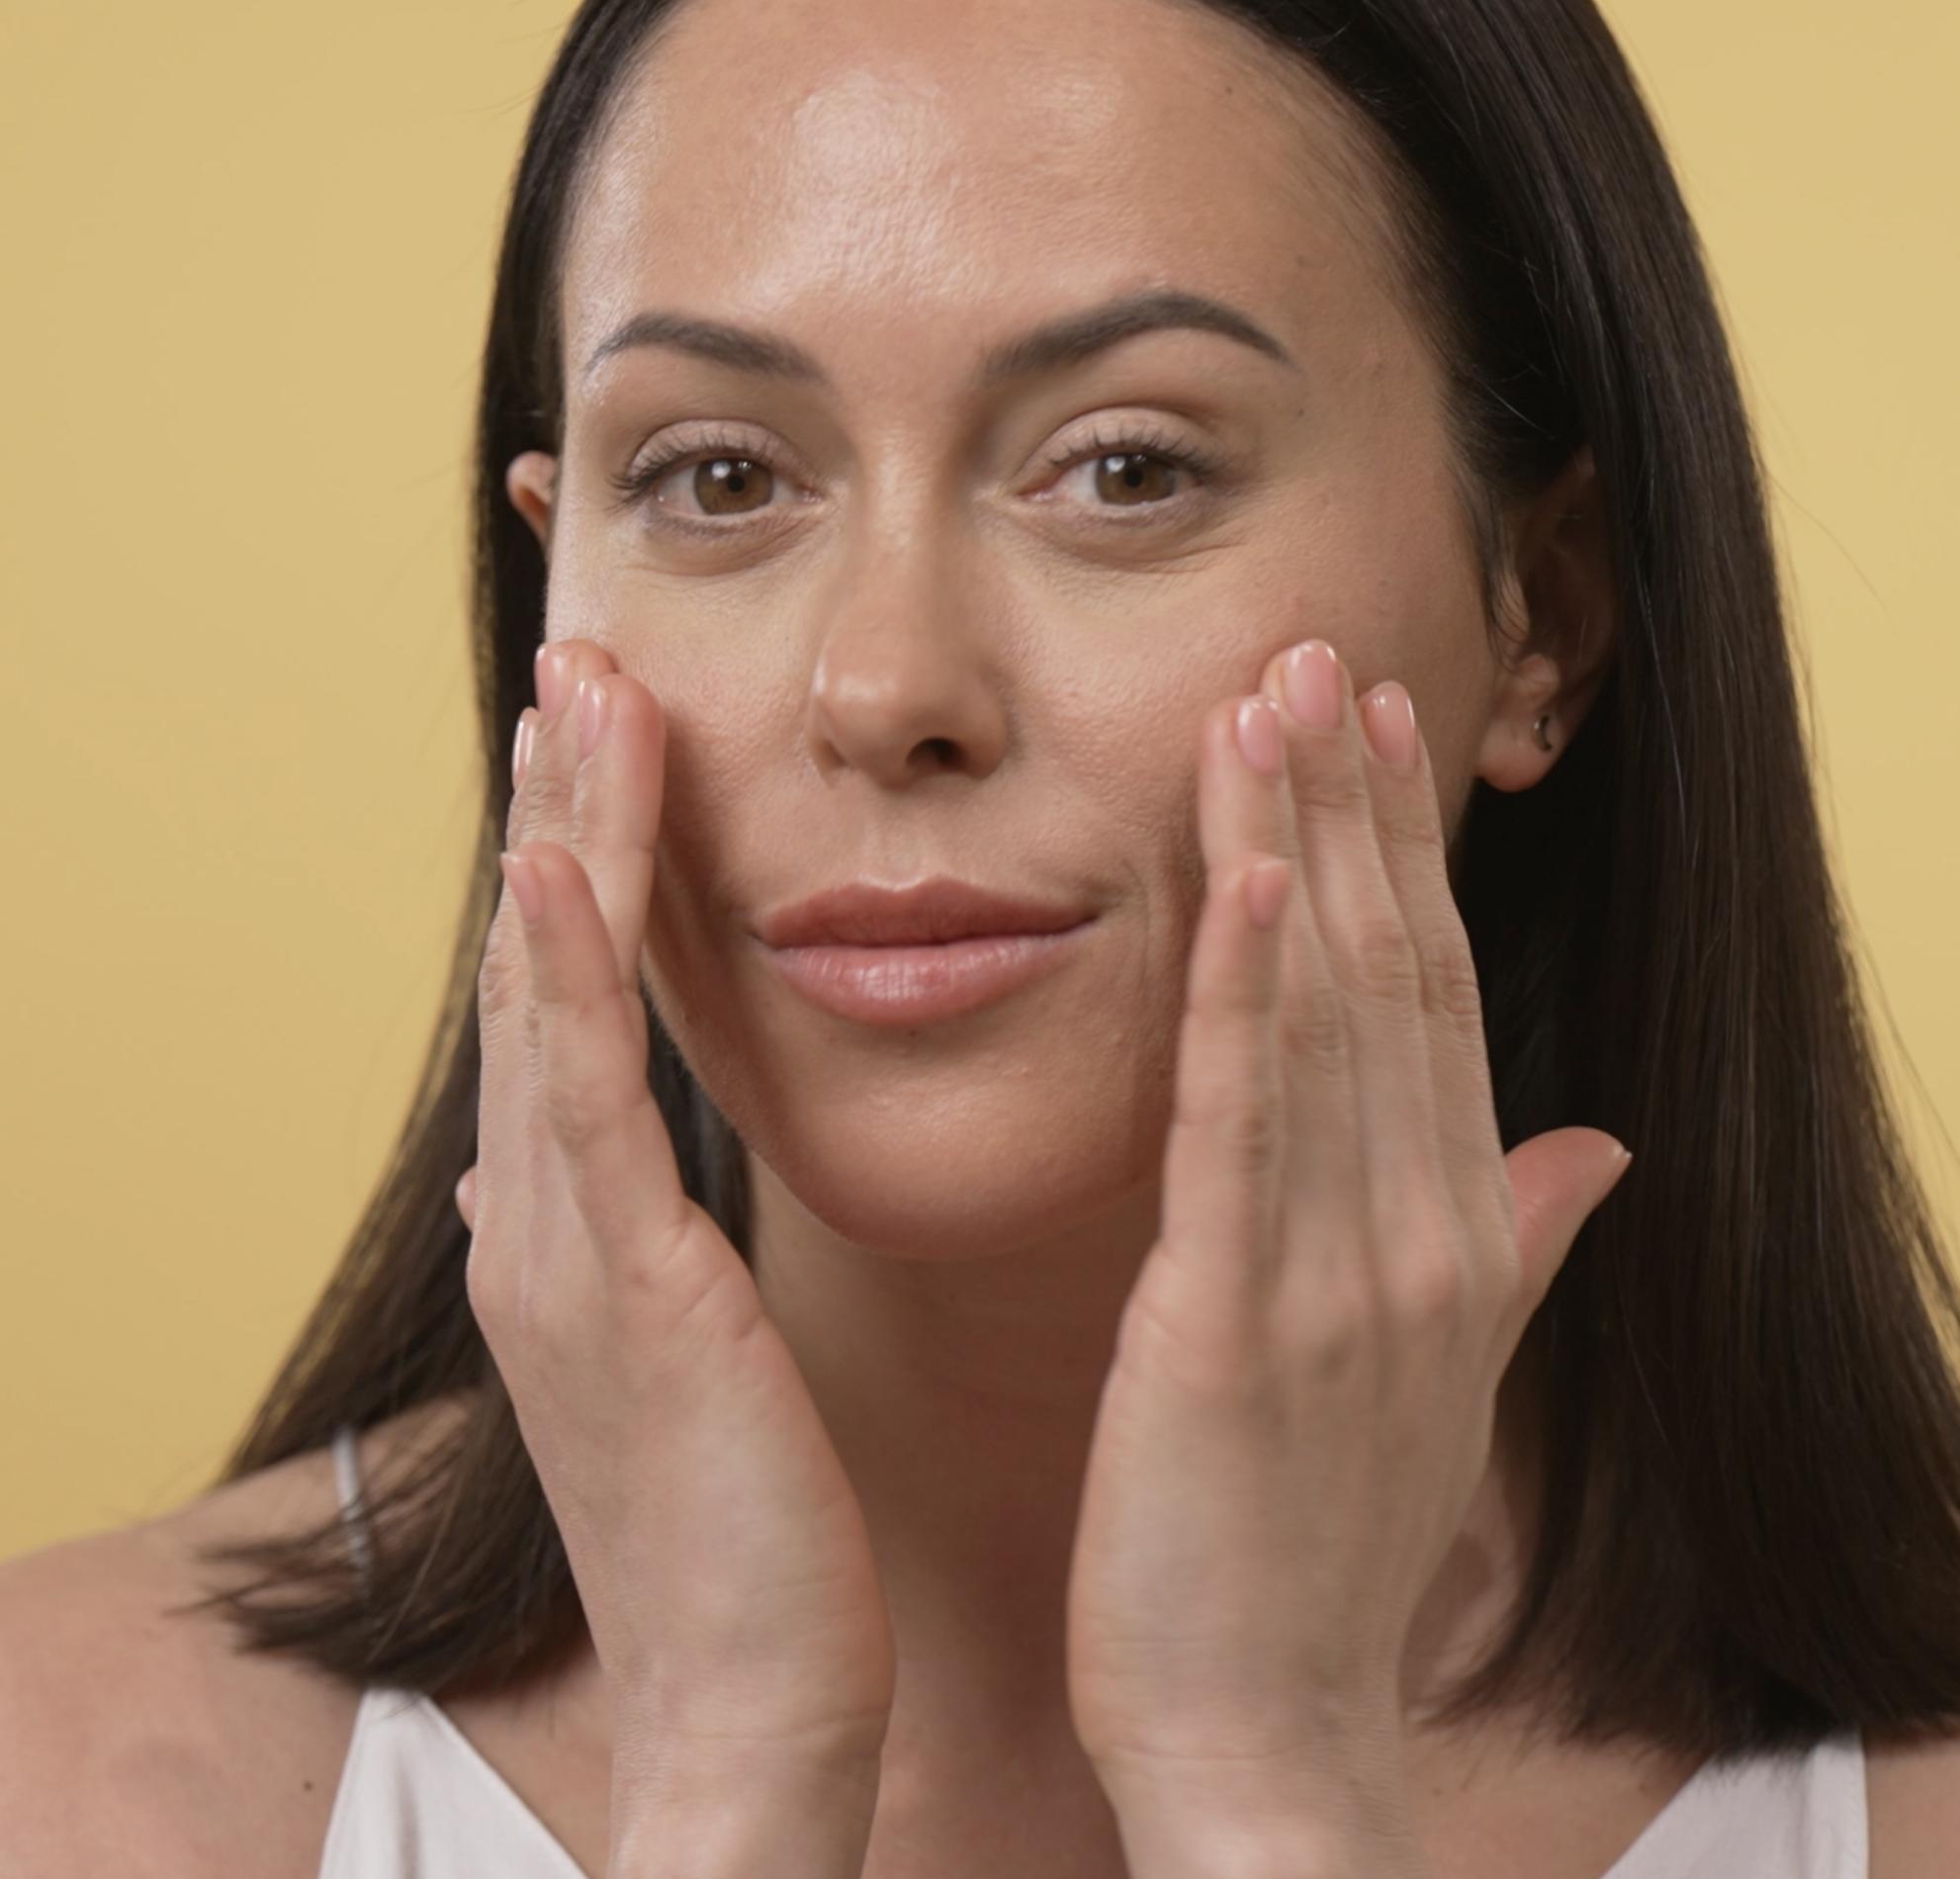
Moisturising
Making sure your skin is well moisturised and hydrated will give you a better chance of achieving an even self-tan that lasts. Use an oil free moisturiser to make sure that it doesn’t create a barrier to the fake tan.

Step 4
Take care of your hairline and eyebrows
If you have fair hair and eyebrows, prevent them from being stained by applying a barrier cream to the hairline and brows. Remember, ensuring you have the most convincing bronzed skin ever means paying attention to details!
How to apply fake tan
Step 1
Shoulders and arms
Starting from your shoulders, apply the fake tan to both shoulders and arms using the same circular and then vertical movements as above. Avoid the elbows and stop at the wrists.
Step 2
Legs and bum
Working from your bottom down, glide the fake tan over your bottom and legs. Again, take your time with the circular and vertical strokes in order to cover the area evenly. Miss out the knees and stop just above the ankles.
Step 3
Torso
For your stomach, chest, and back, use long, even strokes to glide the tan over your body.. Reach across your body for your sides and back, or ask a friend for a little help to ensure no patches are missed!
Step 4
Tricky bits
Elbows, knees and heels have a tendency to end up looking much darker if care is not taken, as they are so much drier than the rest of the body and absorb the tan more. Wrists, feet and hands can end up looking patchy if fake tan is not applied correctly.
So, let’s get busy with making sure these areas look as authentically tanned as possible!
There are a few self-tan techniques here - see what works best for you.
Elbows
Pop a small amount of moisturiser and an even smaller amount of fake tan onto your mitt and spread lightly over your elbows and work gently into the surrounding area too.
Knees
Apply fake tan and moisturiser in the exact same way as with the elbows.
Feet and ankles
Apply the lotion/moisturiser mix onto the feet and ankles working it carefully around the Achilles’ heel as this is a streak hotspot! As with the hands, work the lotion into the gaps between the toes and the sides of the toes.
Hands and wrists
Take your gloves or mitt off. Place some moisturiser with a little fake tan on the back of one of your hands. Place the backs of your hands against each other to gently rub the mix of lotion and moisturiser into the webs of your fingers and down the sides. Pay attention to working it lightly into where the thumbs meet the palms and where the little fingers meet the palms so you don’t have a harsh line. Rub each wrist onto the back of the opposite hand in order to take up the excess lotion. Then carefully rub them together taking care not to get any lotion on your palms.
Maintaining your fake tan
Once you are gloriously tanned and feel gorgeous, all you have to do are a few simple things to maintain your self-tan’. Moisturising well and using a bronzer is a good start.


Moisturising
Moisturise using a non-oil-based moisturiser every day to keep your skin hydrated and therefore avoiding any cracking or flaking.
Carefully pat your skin dry after baths, shower, or swimming rather than rubbing.
Be aware that the more you swim and shower, the more your tan is likely to fade.
Don’t take very hot baths or showers as this encourages removal of the tan.
Apply fake tan weekly to build it up.
Use a wash off tinted lotion on your body or a tinted face gel to top up your tan if you don’t have time to apply another layer.
Use a bronzer on your face to intensify that summer bronzed glow.
A quick reminder
It’s all in the prep! Make sure you prepare your skin well before you apply any fake tan lotion.
For a long-lasting tan, keep it up by moisturising and using bronzers.
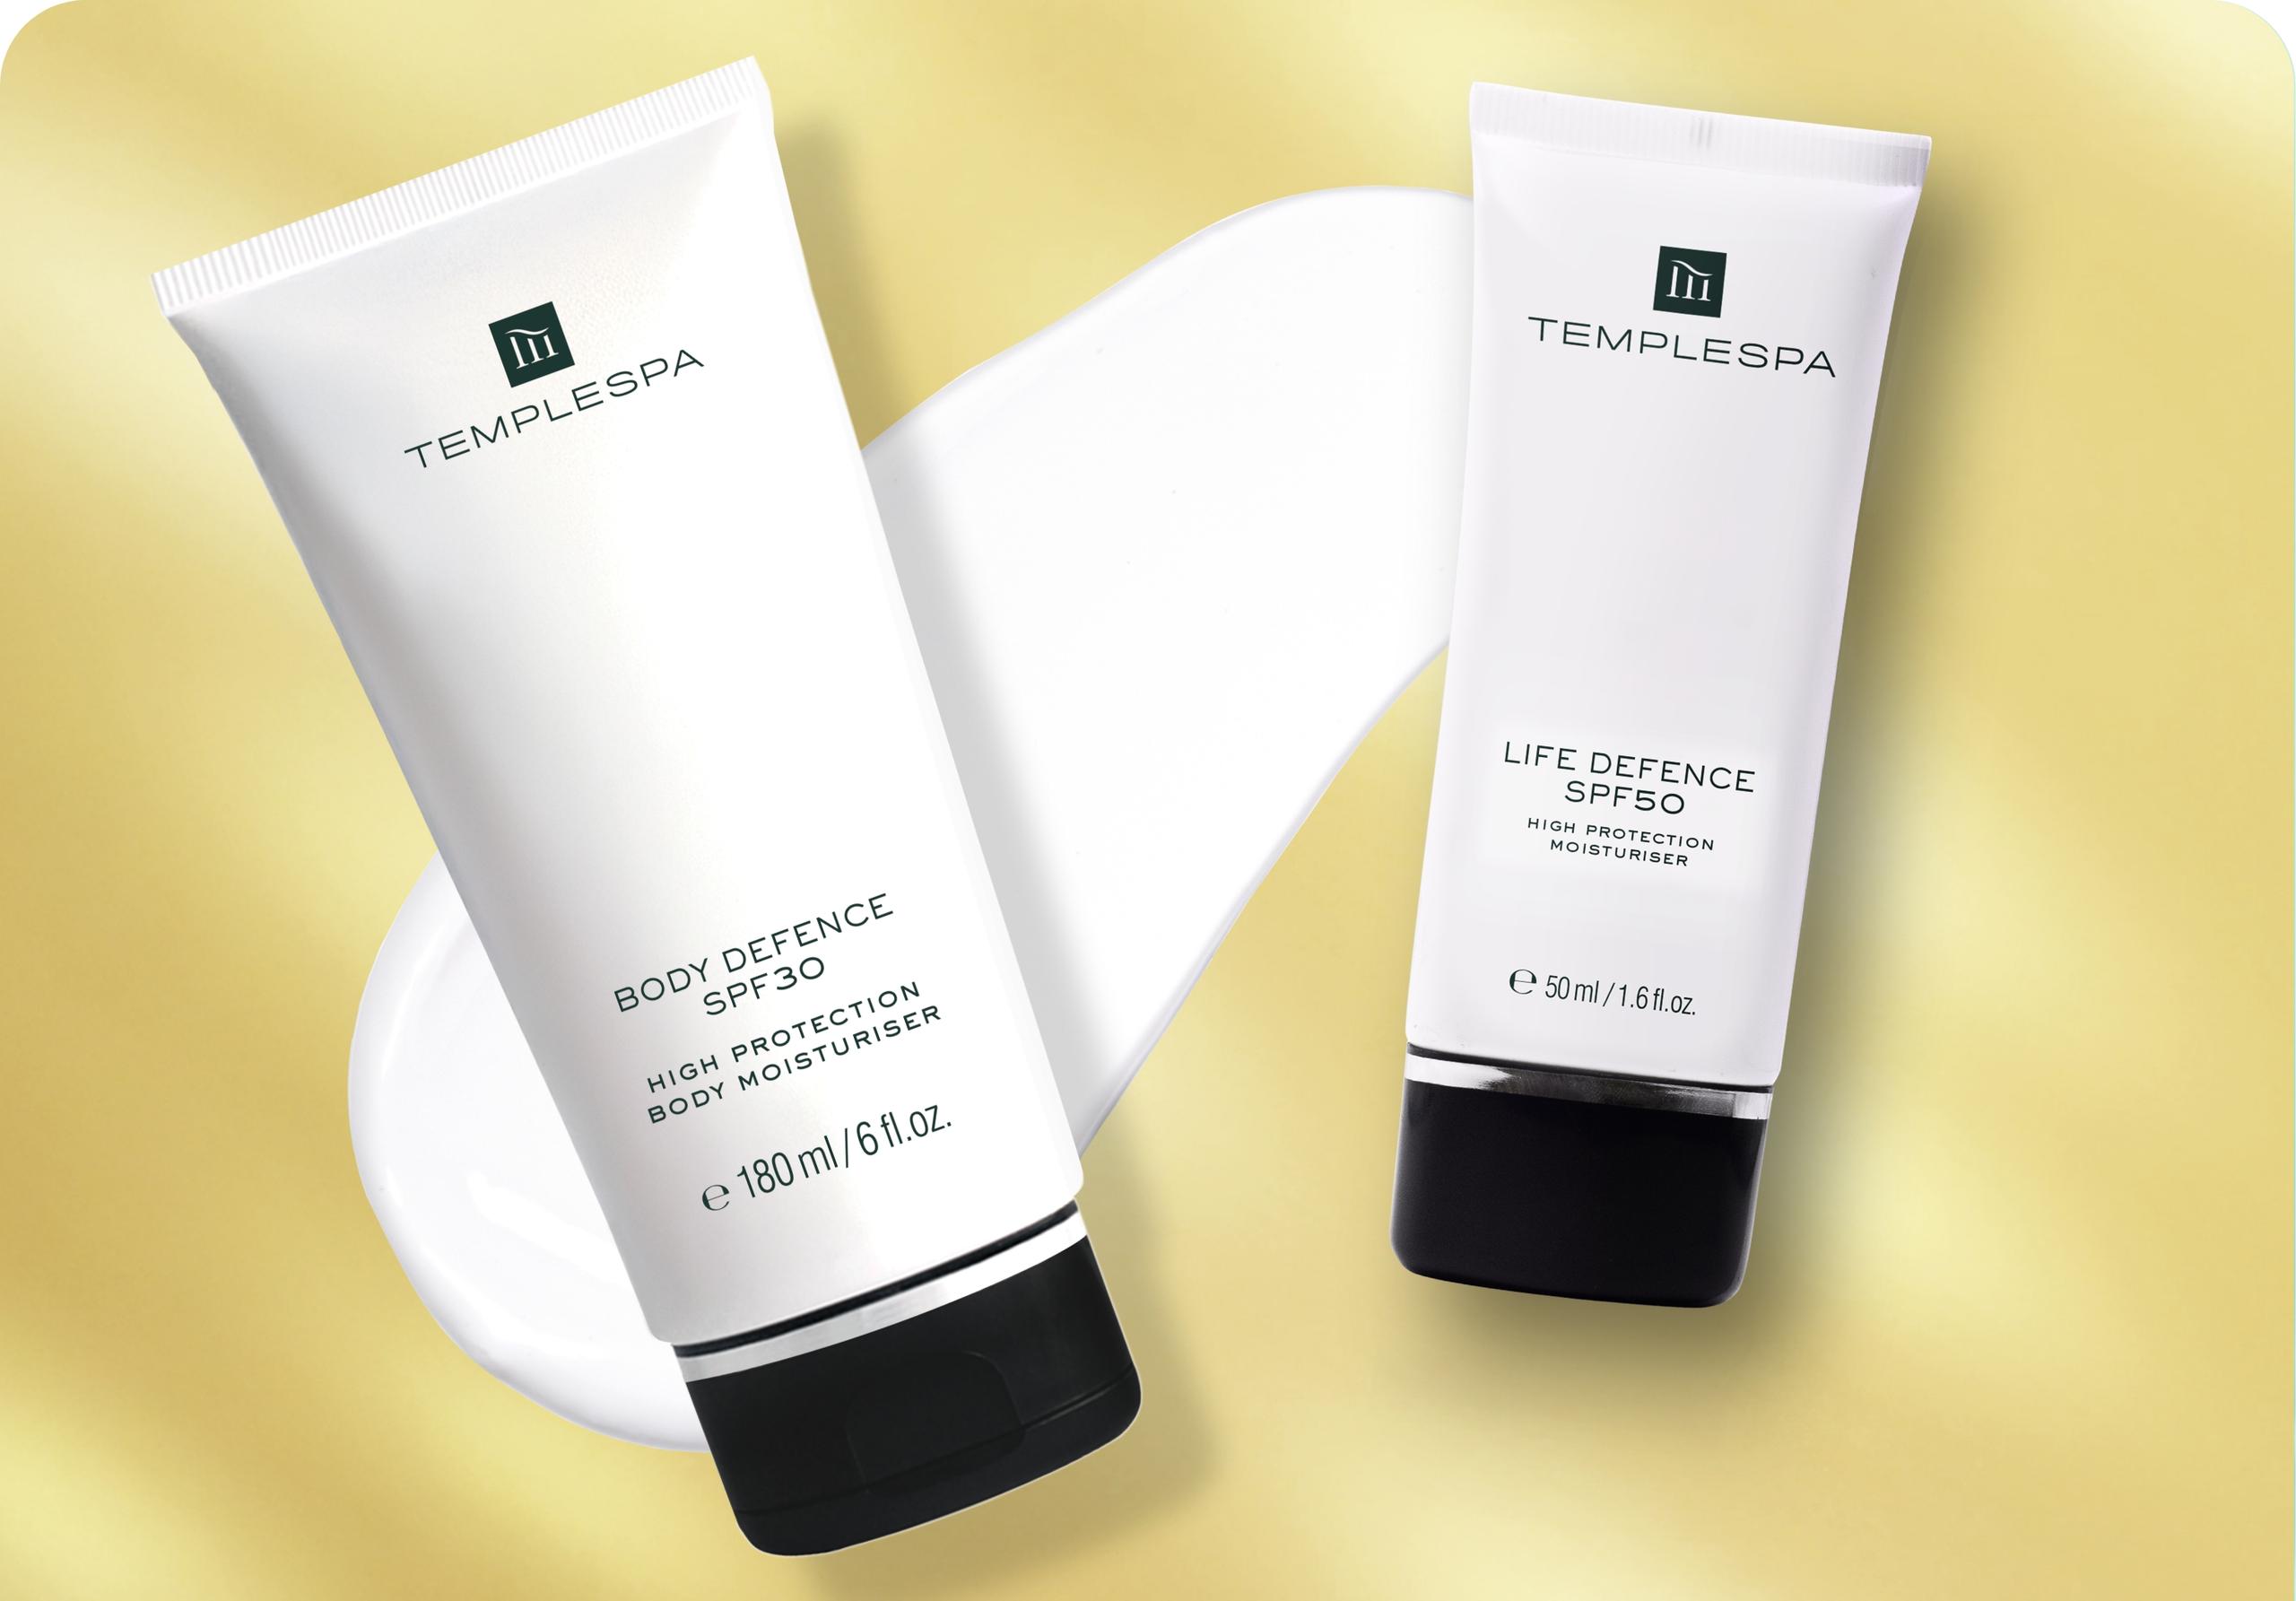
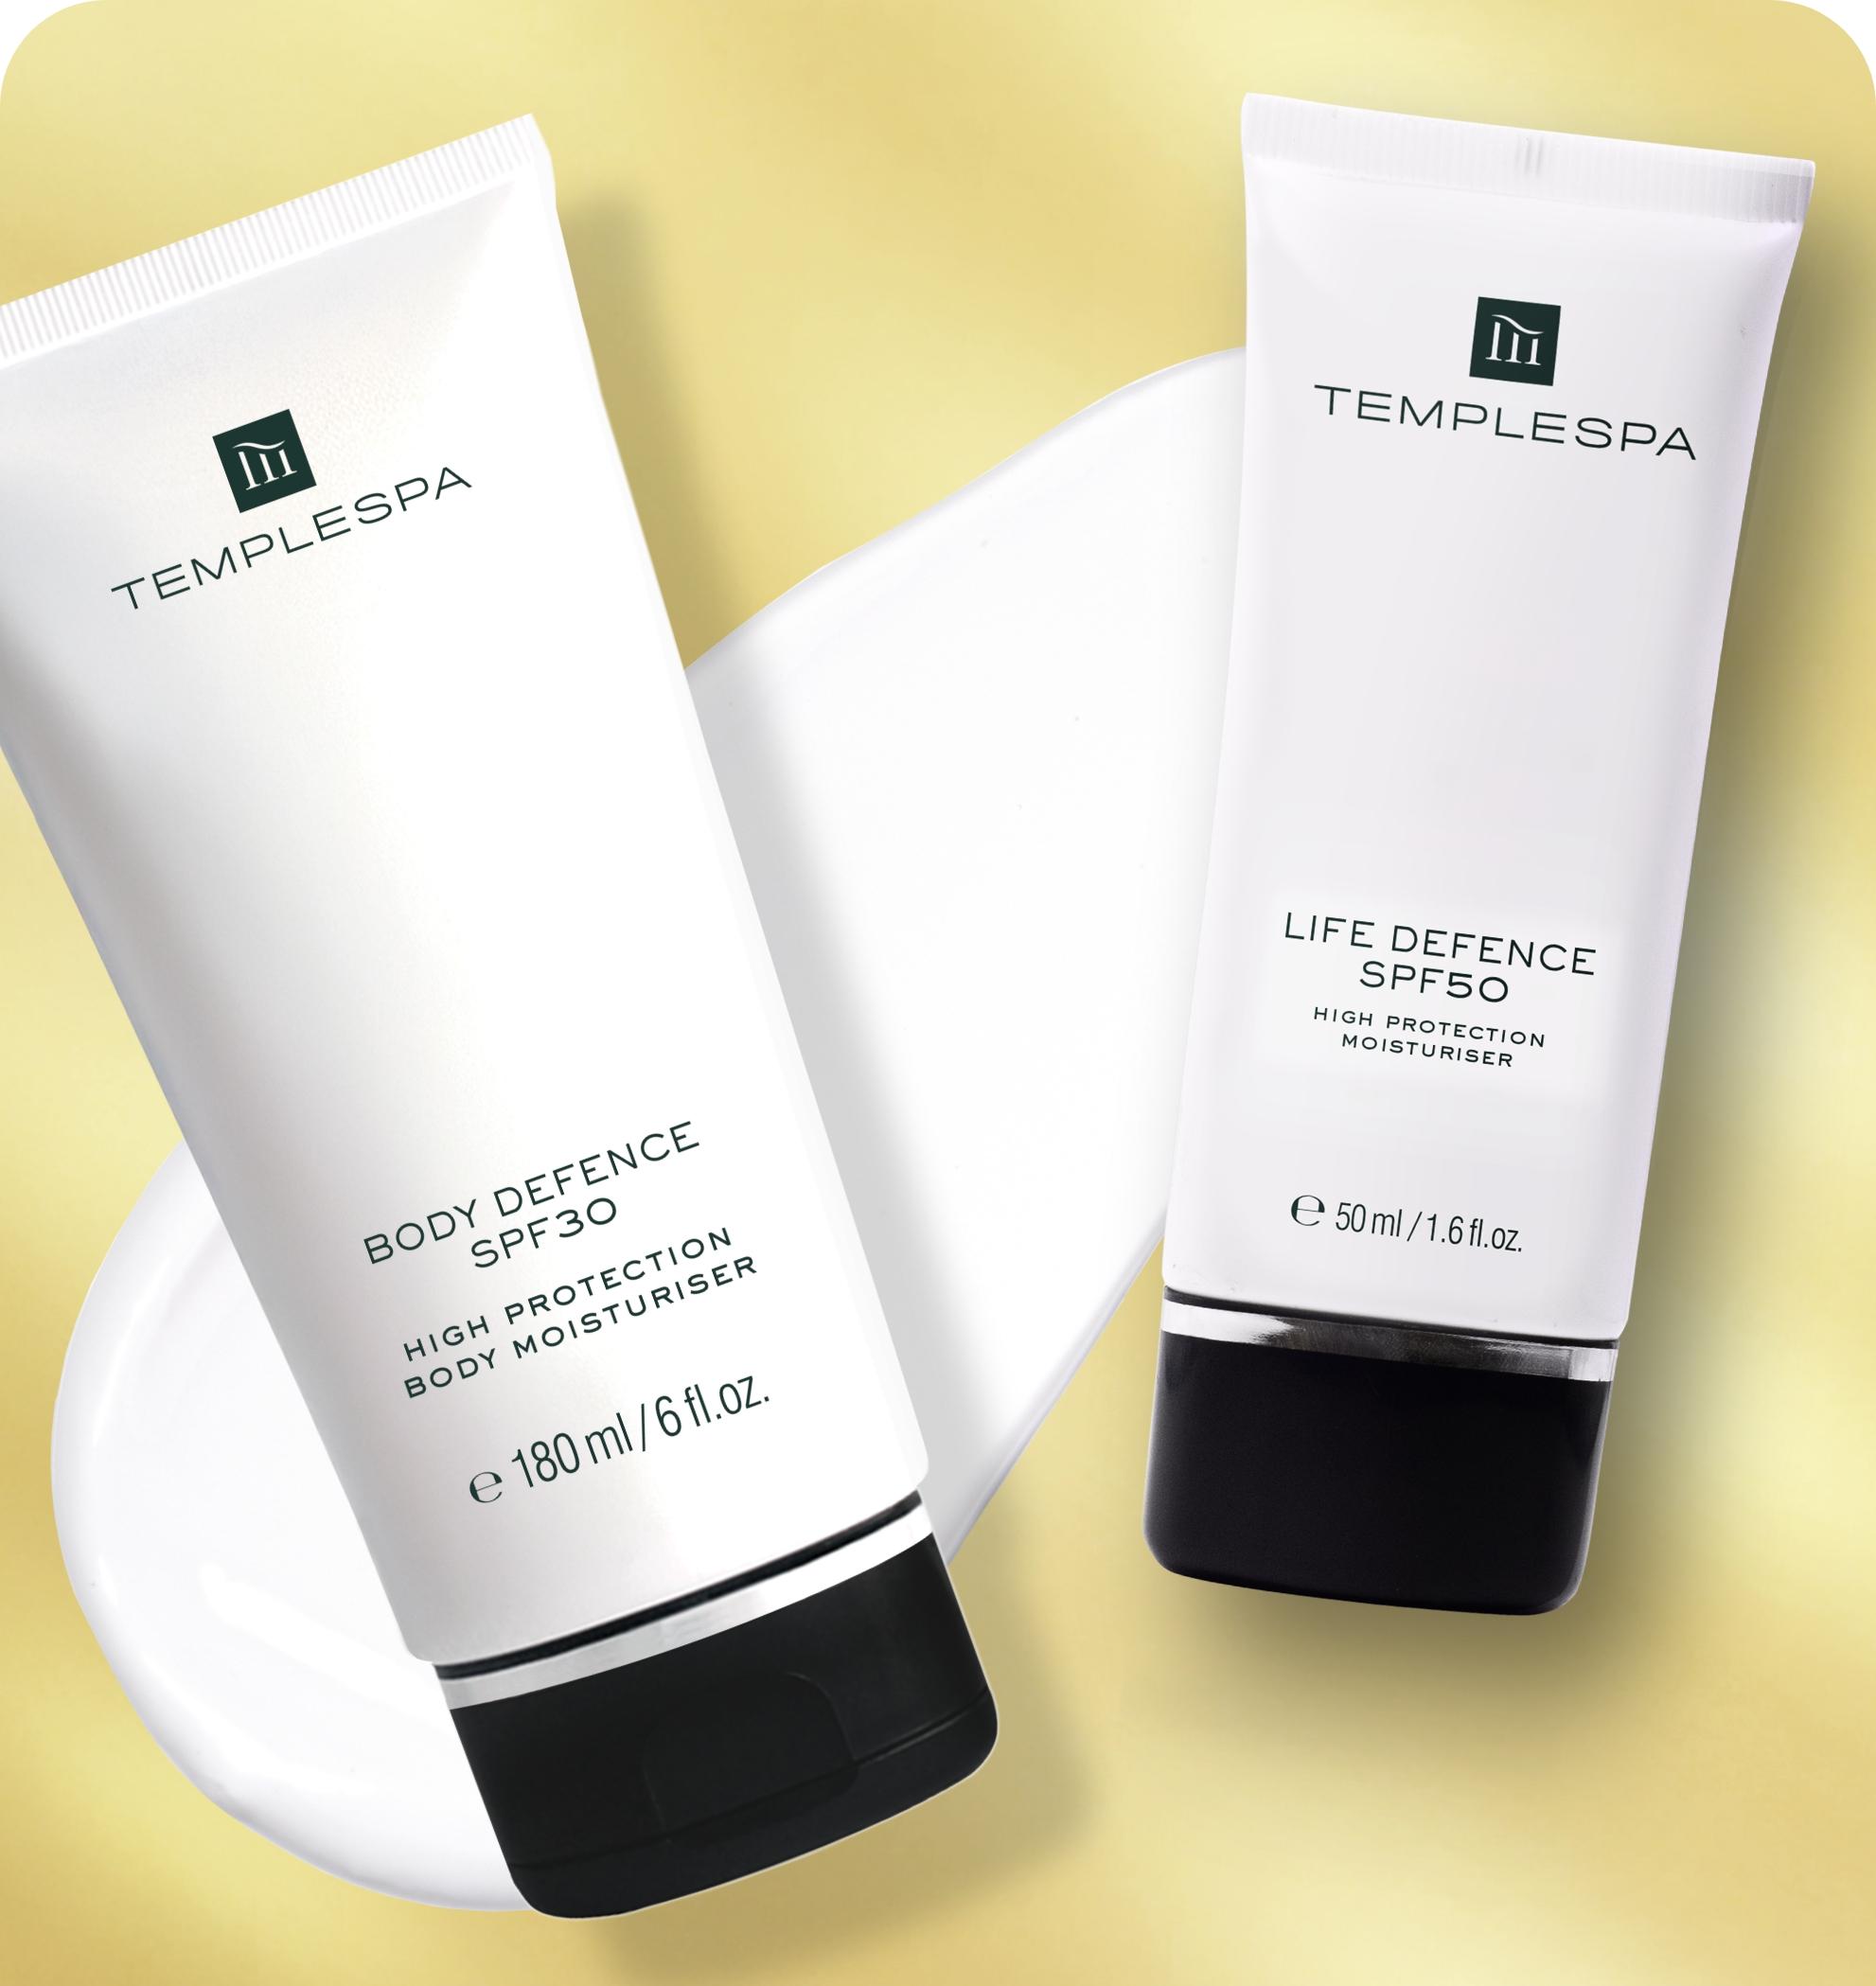
Wear a high factor sunscreen on your face and body to protect your lovely skin from harmful UV rays.
Why apply fake tan?
With the dangers of skin cancer and premature ageing from the sun’s harmful UV rays being at the forefront of most people minds, the use of fake tan has increased dramatically.
Fortunately for us, fake tanning products have come on leaps and bounds. Latest formulations can create golden glows so deliciously real that it’s easy to convince others that the beautiful tan is your very own. Also, choosing to do it yourself means you save oodles of precious time. Rather than baking yourself in the sun for hours just to get bronzed, you can spend more time strutting your stuff around town to show off your perfect tan. These days, achieving an utterly convincing tanned look is both quick and easy.
Different types of fake tan
The road to self-tanning can get a little confusing at times, as there are so many products to choose from. Some self-tanning products are semi-permanent while others wash off easily; you can also choose between tinted and non-tinted. To save you from information overload, here is a quick guide to get you on the right track and decide which products are best for you.
Tanning mousse
Light and easy to apply, providing a streak free and even coverage.
Spray
Most tanning sprays are applied in beauty salons but there are some sprays available for you to apply at home. Just like mousses and lotions, they can be easy to apply.
Lotion
Many tanning lotions contain extra moisturisers enabling you to tan and moisturise at the same time. The only downside is that they are a little harder to apply evenly.
Bronzing powder
Growing in popularity, bronzing powders are often used as make-up on your face or body to give you a temporary sun-kissed glow.
Tinted lotion
A great way to either top up an existing tan or to create a beautiful tan in an instant. Use them on your face or body and wash them off easily at the end of the day.
